Can Audacity Remove Background Noise?
Audacity is a feature-rich audio editing program and many users use its Noise Reduction feature to make their audio clear. But in fact, Audacity is better at eliminating some specific background sounds.
What noise can Audacity remove?
Audacity can help you eliminate constant background noise, such as hum, whine, buzz, whistle, etc. It's not good for removing irregular sounds, such as from a person or from traffic. In short, it is hard to remove changing or irregular noise.
Can Audacity completely remove noise?
Audacity can help you remove background noise. However, what you need to know is that no tool can remove noise perfectly, including Audacity. Maybe after removing the noise, it still sounds noisy in your audio, or your audio will become distorted.
Anyhow, you can try to see if Audacity helps. Just keep reading this guide provided by AWZware to learn how to get rid of background noise in Audacity.
How to Remove Background Noise in Audacity
Let’s start to see how to use Audacity to remove background noise. To avoid any errors, you can create a text audio, or you can make a copy of the original one and have a text.
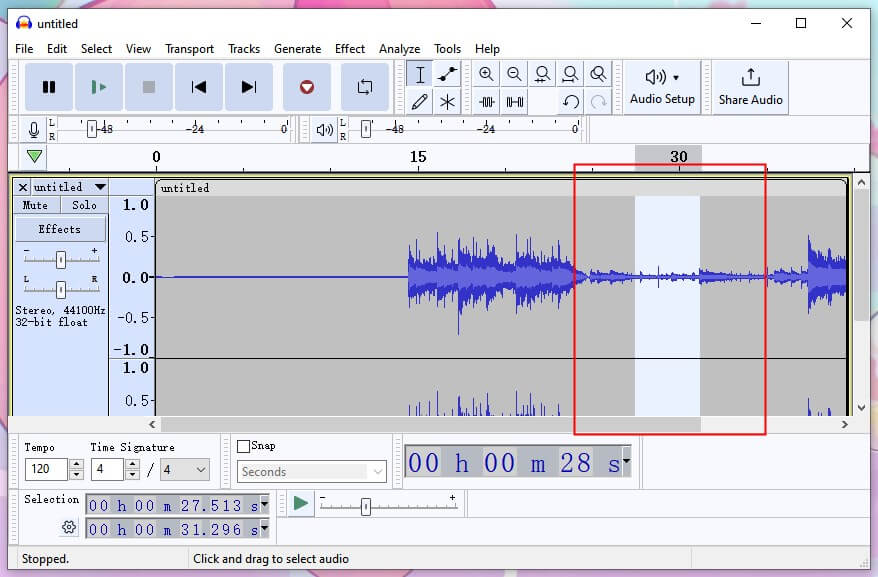
Step 1. Select the Unwanted Noise
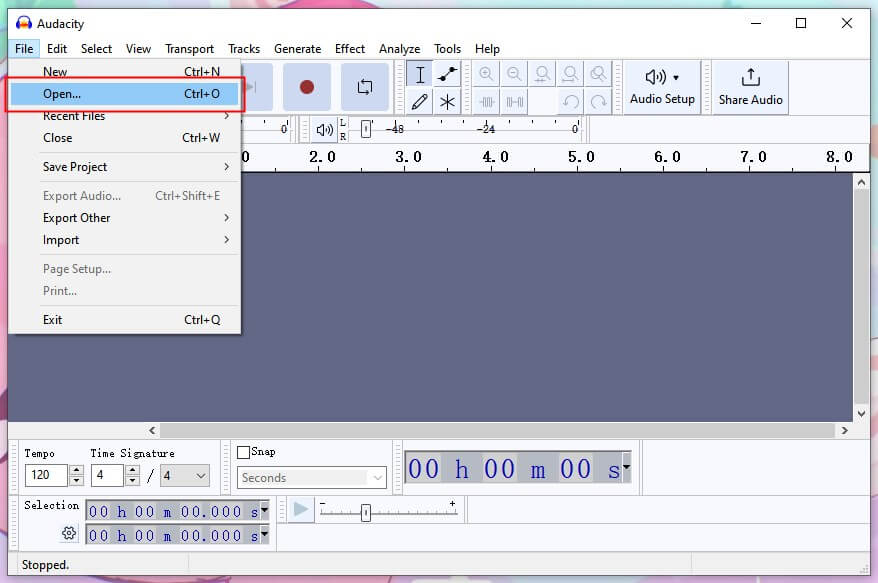
Open your recording and find the background noise you want to delete.
- Click File and choose Open to add your recording file.
- Try to find a part where there is only noise. If not, then choose the part where the noise is most prominent. The longer the better - at least a few seconds.
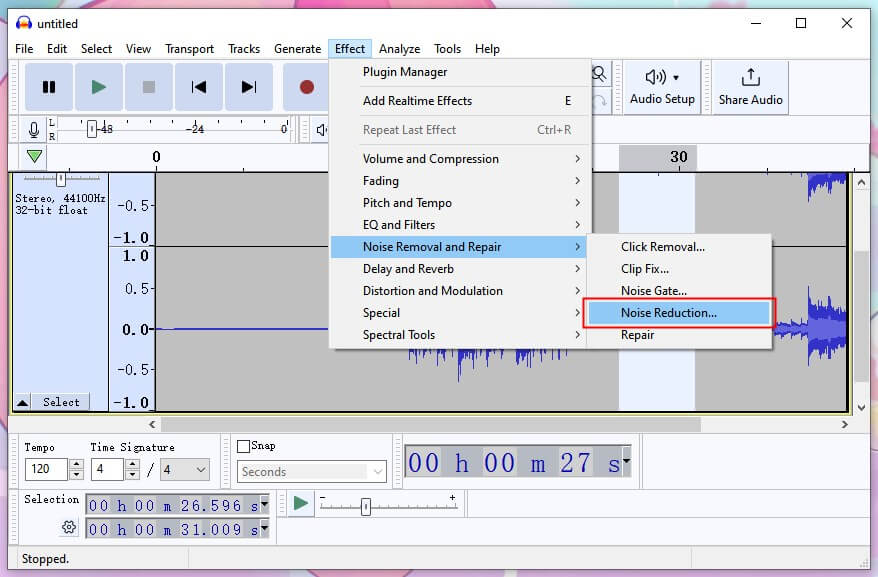
Step 2. Noise Reduction Settings
Next, you need to make some settings to get the noise profile.
- Click Effect > Go to Noise Removal and Repair > Select Noise Reduction... option.
- On the Noise Reduction window, click Get Noise Profile. In this way, Audacity will analyze the selected part to figure out which sounds are noise.
- Then choose all the audio you want to reduce the noise > Go to Noise Reduction... again > Then you can adjust the amount of noise to be removed.
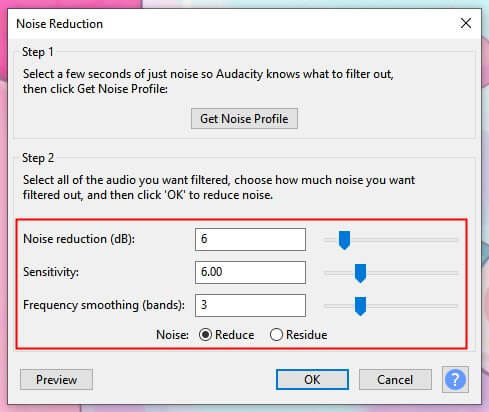
❇️ Noise Reduction (dB) can control the volume of the noise to be reduced. You can make this setting as low as possible but filter out the noise.
❇️ Sensitivity determines how much audio Audacity recognizes as noise. The best-case scenario is to keep this value as low as possible while removing the noise.
❇️ Frequency Smoothing (bands) allows you to remove the random tones resulting from incomplete noise removal. However, it may make the desired signal unclear. When the signal is strong but the noise is weak, it can be set to 0.
Step 3. Remove Background Noise
- Make sure Reduce is selected and you can click Preview to listen to the audio after removing the background noise.
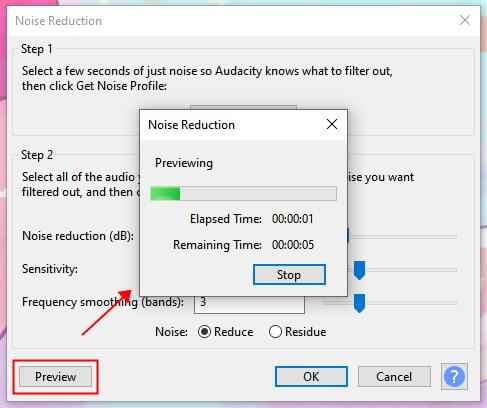
- If you're happy with the results, click OK to apply this effect to the entire audio.
Now you know how to remove background noise in Audacity. To achieve the desired result, you can repeat the Noise Reduction process. But this shouldn't come at the cost of distortion, otherwise removing the background noise would become meaningless.
How to Record High-Quality Audio Without Noise
While it is possible to eliminate noise with Audacity, it is best to take steps to avoid noise before recording. Here are some tips to avoid the background noise.
⭐ Record in a room away from outside sounds.
⭐ Place the microphone away from equipment that makes noise.
⭐ Try to create a space with lots of soft surfaces, hang curtains, put down rugs, and do this on the walls too.
⭐ Using a dynamic microphone and adjusting its sensitivity. Move your mouth closer to the microphone so that it can better capture your voice.
⭐ Use a recorder that can automatically filter out background noise such as AWZ Screen Recorder. This tool is able to grab your microphone and speaker voice.

You can click the download button below to get the recorder and record high-quality audio without noise.
For PC:
For Mac:
This guide will tell you more info about how to record audio for podcast:

How to Record Audio for Podcast | 3 Easy Ways for Beginner
This guide will tell you how to record audio for podcast. Finding the best tools for recording high-quality audio is one of the keys to success.
READ MORE >Final Words
That’s all about how to remove background noise in Audacity. As you can see, you can't remove unwanted noise with a single click. But when you get used to it, you'll be able to successfully eliminate noise without destroying the signal. Hope you find this guide helpful.