Live Photo is one of Apple’s stunning features beloved by a wide range of people to record their lives. When it comes to memory sharing through a live photo, you may want to turn your live photo into a video for better presentation. AWZware will show you how to make a live photo a video in a step-by-step manner.
Why Make a Live Photo a Video
Similar to a GIF, a live photo is an animated picture that records 3 seconds of movement with sound. The Live Photo feature is introduced to make sure you won’t miss the perfect shot when you snap a photo.
When live photos are shared on some social media platforms or to a non-Apple user, they will revert to static photos. If you make a live photo a video, you can make sure it will be presented properly for everyone viewing it.
Let’s see how to make a live photo a video on iPhone and Mac.
How to Make a Live Photo a Video on iPhone
The most frequently used device to take a live photo is iPhone, on which you can directly make a live photo a video. Let’s have a look at how-to.
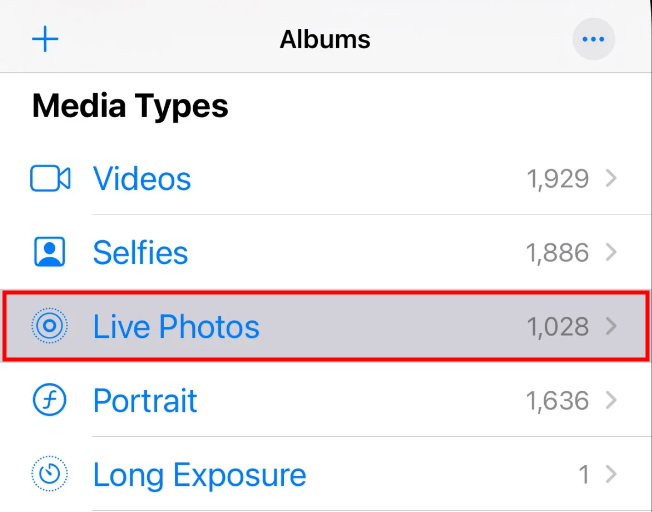
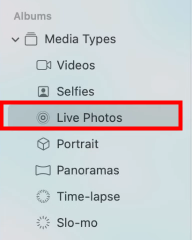
Step 1: Open the Photos app, select Album at the bottom, and choose Live Photos from the Media Types list;
Step 2: Open the live photo you want to make a video;
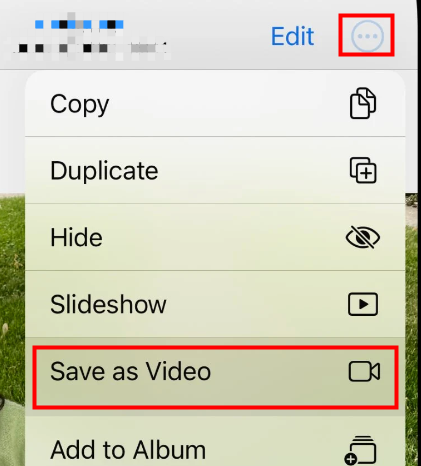
Step 3: Tap the three-dot button at the top right of the screen and select Save as Video to save the live photo as a video;
On iOS 15, hit “Share” at the bottom to select “Save as Video”.
After making a live photo a video, the fastest way to locate the saved video is to head for the “Recents” album, which sorts your data by date. The video lies beside the photo. The generated video will be saved with the same metadata as the original live photo, including date, time, and location information.
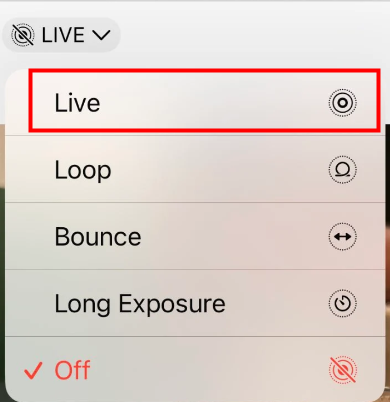
If you cannot find the "Save as Video" option to make a live photo a video, it’s probably because you turned off the Live Photo feature or enabled an effect mode. To deal with this situation, you should click the button in the top left corner of the photo (which may say Live, Loop, Bounce, or Long Exposure) and select “Live” from the drop-down menu. Then follow the above steps to turn a live photo into a video.
You can also make a live photo a video on iPhone using Shortcuts. Let me walk you through the method.
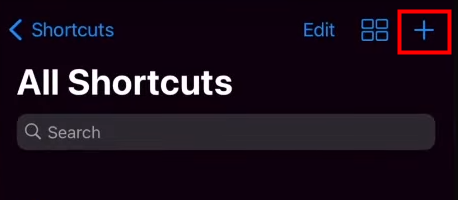
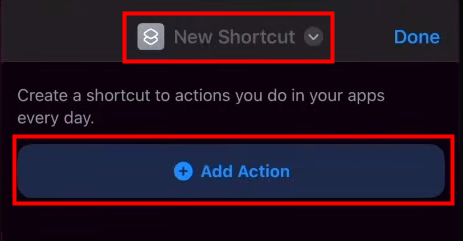
Step 1: Open the Shortcuts app and tap the + button in the top right of the screen;
Step 2: Name the new shortcut and click Add Action;
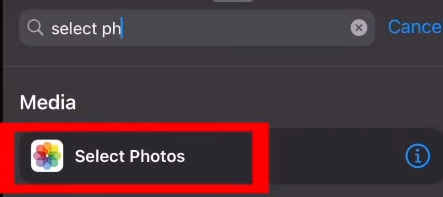
Step 3: Search for and click Select Photos;
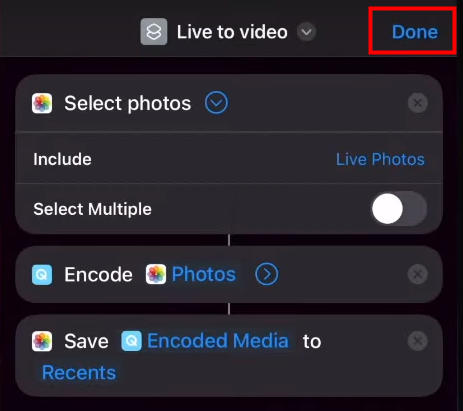
Step 4: Expand the Select photos menu, and choose Live Photos in the Include section;

Step 5: Hit the bottom search box to search for and add Encode Media and Save to Photo Album;

Step 6: Tap Done when finished;
Step 7: Hit the shortcut just created to make a live photo a video, and select a live photo on the new page;

Step 8: Then your iPhone will make the conversion and you can find the generated video in your Photos app.
How to Make a Live Photo a Video on Mac
If you want to batch-convert live photos to videos, using a desktop device will be more convenient. On Mac, you can make a live photo a video using the Export function of Photos. More details are as follows.
Step 1: Open the Photos app on your Mac, expand the Media Types list on the sidebar and select Live Photos;
Step 2: Choose the live photo you want to turn into a video. You can hold the Command key to select multiple items;
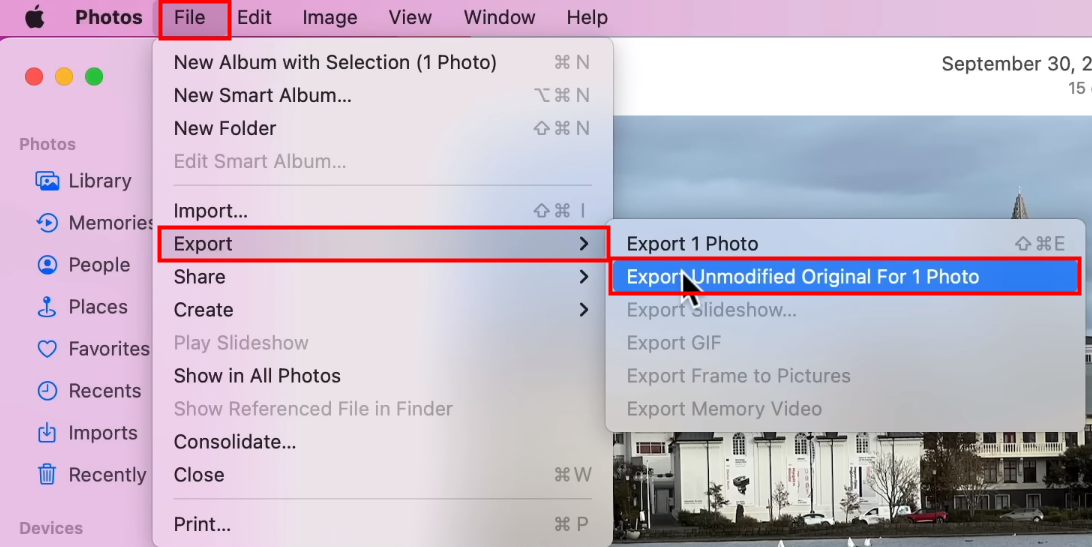
Step 3: Tap File in the menu bar, and select Export > Export Unmodified Original For x Photos;
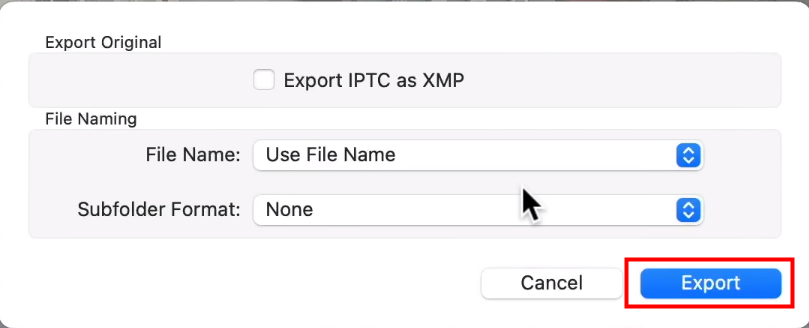
Step 4: Hit Export in the pop-up window to make your live photo a video;
Step 5: Select a location to export the video and click Export Originals;
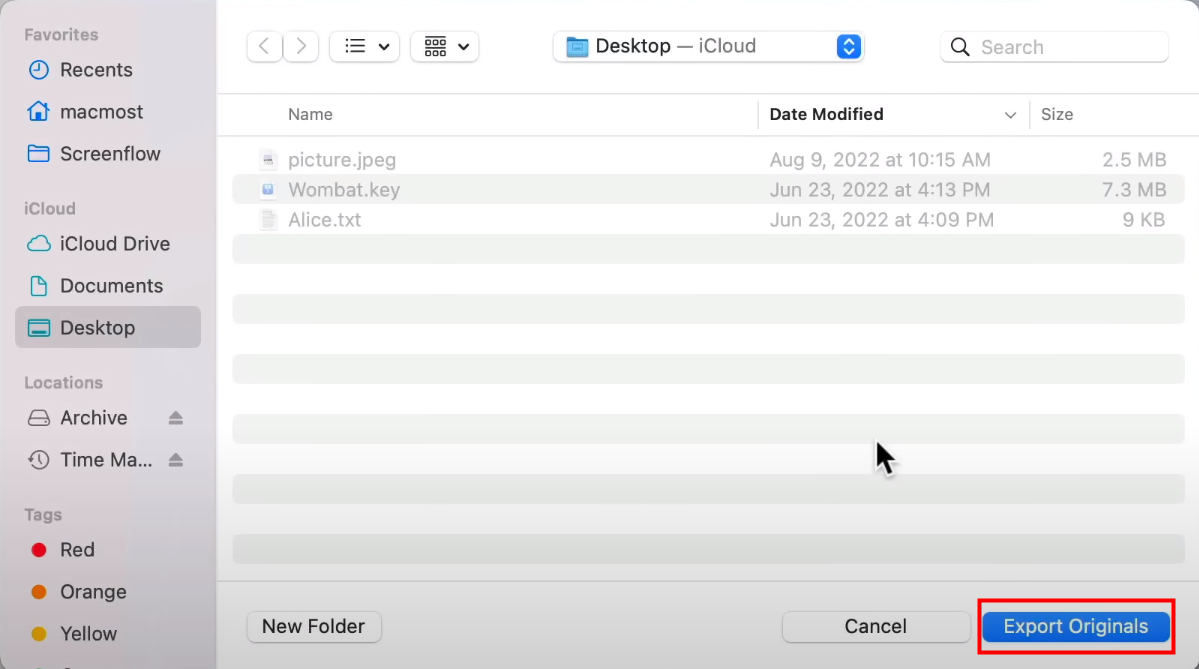
Step 6: The live photo will be saved as a video in the selected folder together with a still photo.
Conclusion
As we all know, videos are better at attracting attention than photos. To ensure all recipients can check the voice and motion in your live photo, we suggest you make the live photo a video. Making a live photo a video on your Apple devices is simple with the methods provided above. Whenever you want to share your memories with others, you can change your live photo to a video in a few clicks.