Introduction:
This blog post will offer you three tools to record screens of a Windows computer. If you want to record your Windows screens in high resolution, don’t miss this article.

There are many occasions you may need to record the screen of your computer. Whether you’re a video content generator or simply want to capture activities on a screen, you can follow this article to explore various methods to record the computer. In this article, we will walk you through how to record screen on Windows using three popular screencasting programs. Let’s read on!

Record Windows Screen with AWZ Screen Recorder

If you're looking for an easy-to-follow and powerful screen recorder, try AWZ Screen Recorder! It's a lightweight and comprehensive screencasting tool that allows you to record screen only, screen + audio, and screen + webcam. More importantly, it offers a free screen recorder that helps record screens and audio on Windows for free.

AWZ Screen Recorder is compatible with Windows 11/10/8/7, making it an ideal choice for Windows users to record screens.

Check the guide below to explore how you can record Windows screens using AWZ Screen Recorder:

Step 1. Install AWZ Screen Recorder for your computer.

Click the following download button to install AWZ Screen Recorder on your Windows PC.

Step 2. Start recording your screens.

Launch this software and choose the Record Screen mode from the left pane. Then, click the first tab on its main interface and drag your mouse to include an area you want to capture. Tap the red REC button to start recording.
4 Steps to Record Screen with OBS Screen Recorder on Windows/Mac for Free

Confused about how to use the OBS screen recorder? This guide leads you to have a general understanding of this software and learn how to record with OBS.

READ MORE >

Record Windows Screen with Screen-recorder.com

The above two methods of recording Windows screens use desktop software, which requires downloading and installing or even signing with email. So, say goodbye to tedious work, and let's learn a convenient method of recording screens on Windows 10/11!

The third method of recording on Windows is to use an online screen recorder, which is available on a web browser. Recording screens using online screencasting tools is straightforward. All you need to do is prepare a web browser and the screen you wish to capture.

In this section, we will use the screen-recorder.com to show you how you can record screens on Windows. Let’s dive in!

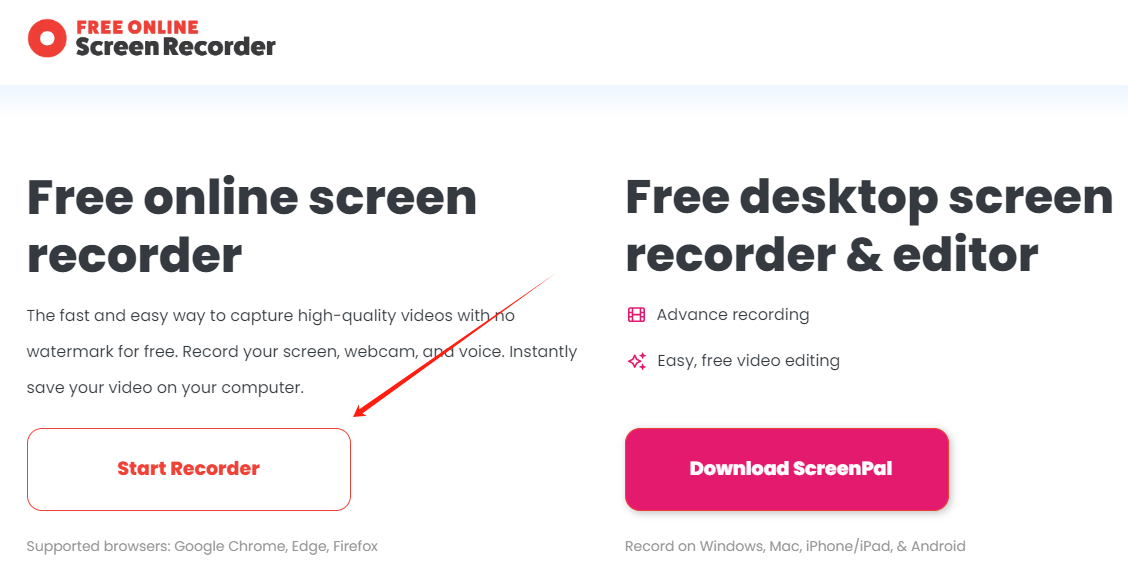
Step 1. Open this link (screen-recorder.com) with your web browser.

Step 2. Tap the Record Screen button. It will pop up a window that prompts you to choose a Chrome tab, window, or the entire screen to record. Select one and tap Share.

Free Online Screen Recorder

Step 3. It will display the selected window on the next screen. Tap the red button to begin recording.

Tips: You can choose to record the system audio or mute it before recording with the offered tools. It also offers functions such as magnifying glass, pencil, and fireworks to make your recordings more visually appealing.

The Bottom Line

That’s all about how to record screen on Windows. We’ve offered you three reliable and free screen recorders to capture activities on a Windows PC. You can effortlessly record 4K videos without signing up. With no bias, we recommend you use AWZ Screen Recorder. It lies between in the middle, neither too professional nor too simple, meeting almost all users’ needs on recording screens. Free download it now and enjoy a seamless recording experience!

AWZ Screen Recorder
  • Record gameplay clips with no lag
  • User-friendly interface & easy-to-use
  • Record system sound & voice from yourself
  • Automatically block extraneous sounds
Free Download
Windows 11/10/8.1/7/XP

Monica

Columnist