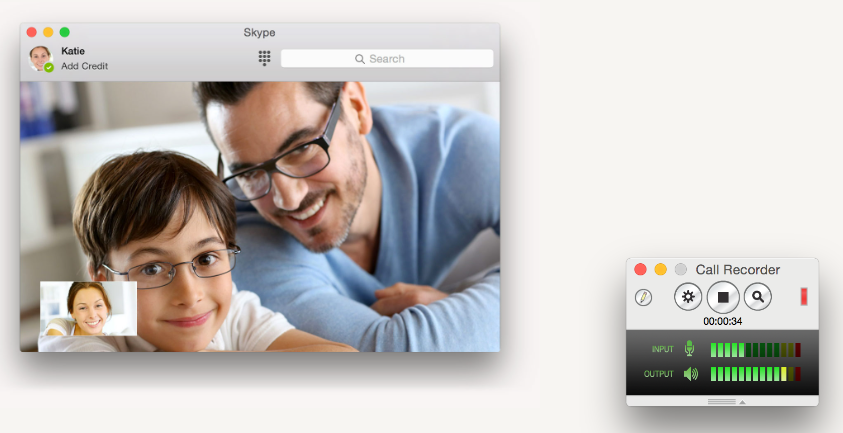
Skype is a popular telecommunication app that offers services such as instant messaging, file transfer, and debit-based calls on various desktop, mobile, and video game consoles. You may need to keep essential information for future reference when having video calls on Skype. In this guide, we will offer you three tools to explore how to record Skype calls on Mac. Read on and follow our guide.
#1. AWZ Screen Recorder
AWZ Screen Recorder is a robust screencasting program for Windows and Mac users. It provides comprehensive screen recording functionalities, enabling you to capture any activity on your screen seamlessly.
When it comes to recording Skype calls on a MacBook, AWZ Mac Screen Recorder allows you to record high-quality screens and audio from Skype. You can choose various output formats and qualities for your recordings. In addition, AWZ Mac Screen Recorder provides built-in editing tools that help you edit and compress videos on Mac in a few clicks.
Here’s how you can record a Skype call on macOS using AWZ Screen Recorder:
Step 1. Prepare AWZ Screen Recorder.
Click the following download button to access AWZ Screen Recorder on the App Store (it’s compatible with macOS 10.13 and later.) Then, download and install it on your device.
Step 2. Set up recording settings.
Launch AWZ Screen Recorder and open the Settings window by clicking the hamburger icon and choosing Settings. In the following dialog box, you can select a preferred output location, format, rate, quality, and others. If necessary, you can also adjust the effects related to the mouse and keyboard.
Step 3. Start recording Skype calls.
After the setting is done, go back to the homepage and choose a recording mode. You can record screen-only, audio-only, or both screen and audio. After selecting a mode, tap the red REC button to capture your Skype calls.

Monica