Way 1. Add Picture to Video in Adobe Premiere Pro (Windows/Mac)
Adobe Premiere Pro is an industry-leading video editor that can turn your raw footage into flawless productions. You can add pictures to the video using a few steps.
How to Add Picture to Video Using Adobe Premiere Pro
Step 1: Download and launch Adobe Premiere Pro on Windows or Mac computers.
Step 2: Import your images into Premiere Pro. You can do this by double-clicking on the project window and selecting the images you wish to import. Alternately, you can drag and drop them in from the folder in which they are stored.
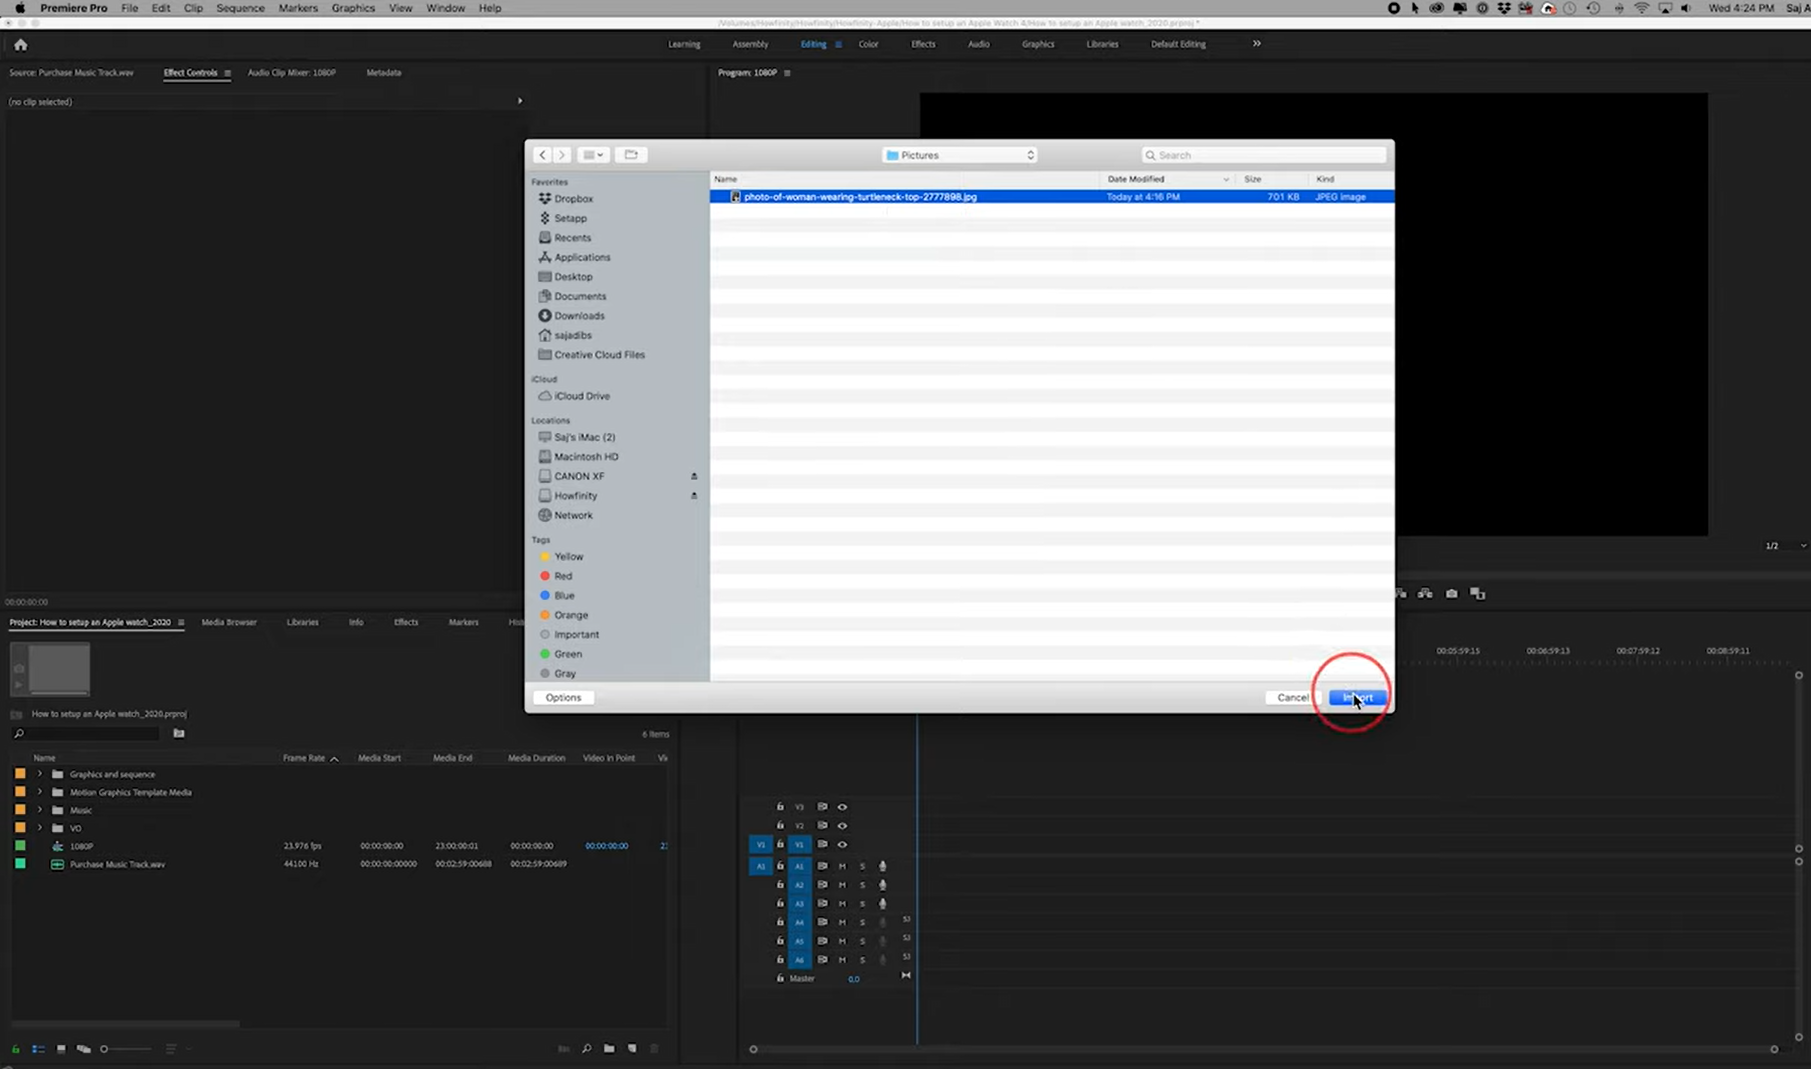
Step 3: After dragging the images onto the timeline, the program will allow you to make the duration as short or long as you want by left-clicking on either end of the image and stretching it to make it longer or squeezing it to shorten it.
Step 4: You can adjust the image's size by clicking on it to select it. Then, you can navigate to the effects control panel, where you can use the scale control to increase or decrease the image size.
Step 5: Adjust your image's position by using the position control to move the images horizontally or vertically.
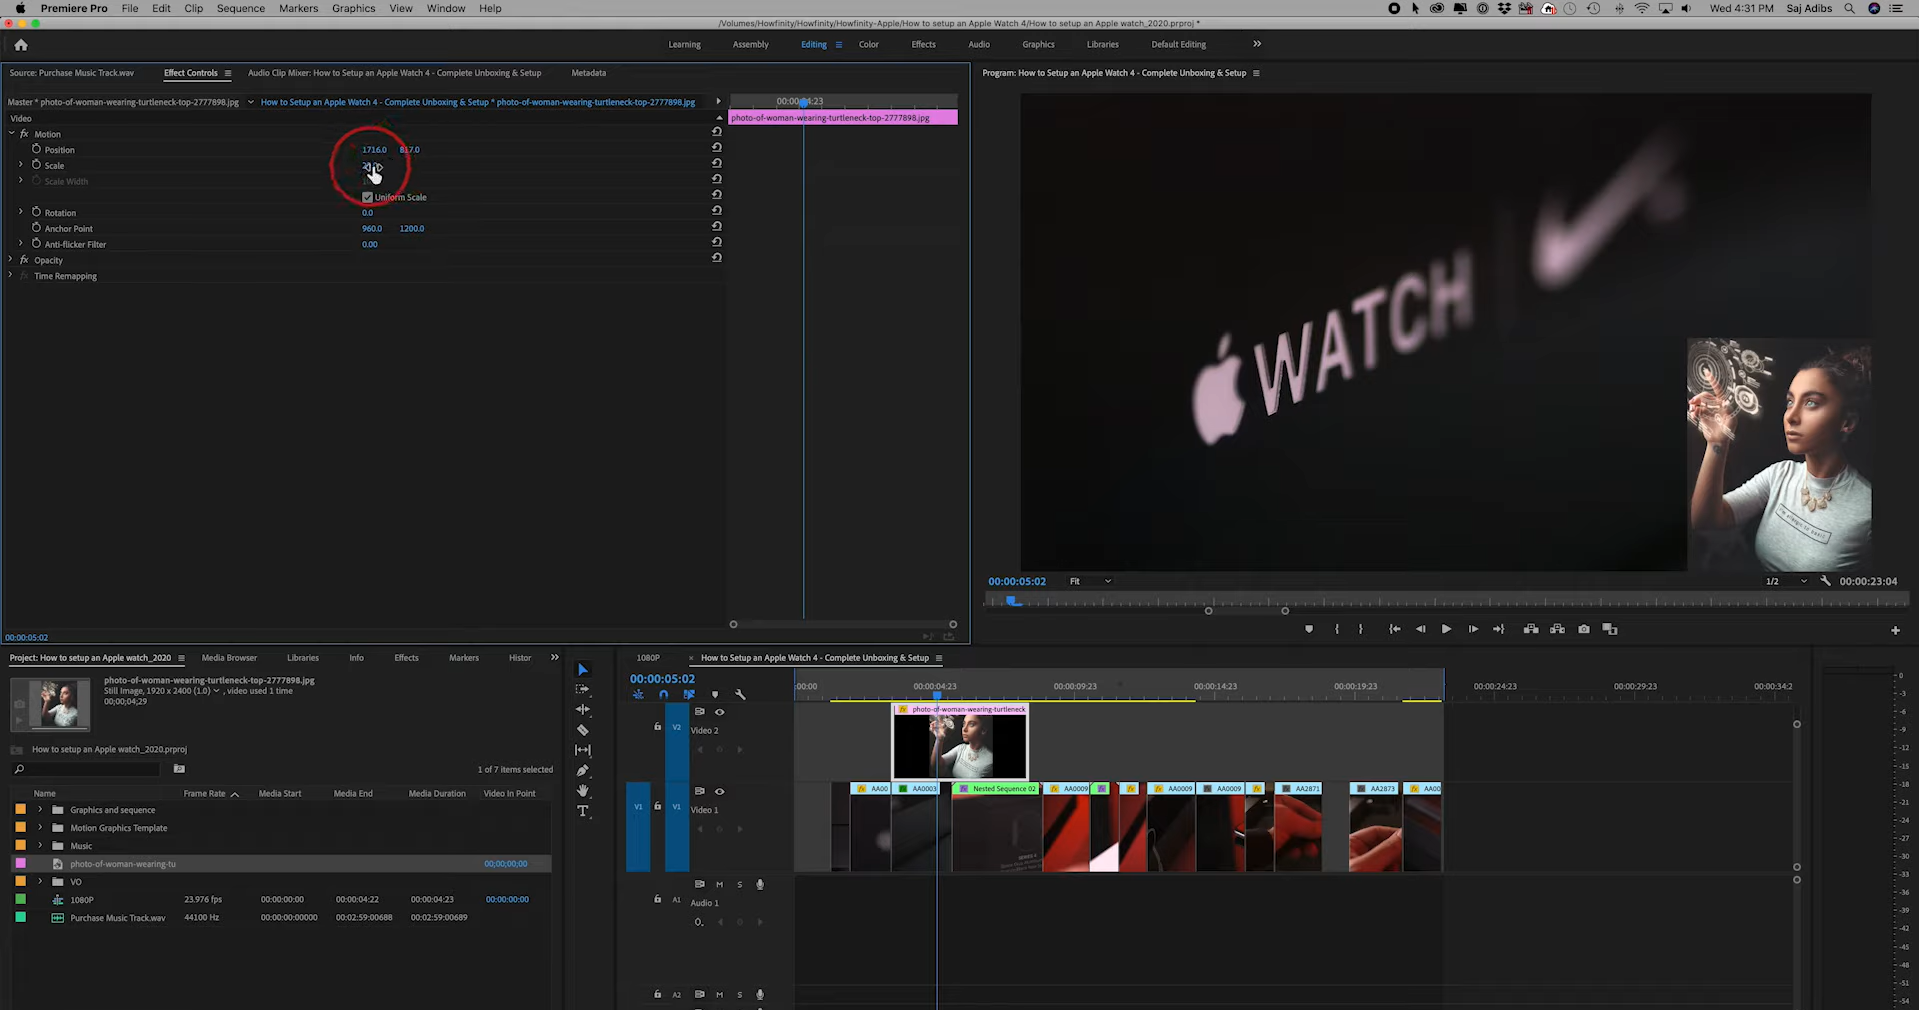
Step 6: You can add multiple images simultaneously by layering them on separate video tracks and arranging them using the same scale and position controls.
That's it. This way, you can add still photos to your timeline in Adobe Premiere Pro.
Way 2. Overlay Images on a Video in Final Cut Pro X (Mac)
Final Cut Pro X is exclusive software for Mac users that assists with video editing. This robust software also allows you to add pictures to videos effectively.
How to Add Picture to Video Using Final Cut Pro X
Step 1: Launch and open Final Cut Pro. Select the clip you want in your main window and press E to add it to your timeline.
Step 2: Move your playhead to the start of your timeline and select the clip you want to see in your picture in picture window. Press Q to connect it above your main clip.
Step 3: Ripple this clip to be the same length as your bottom clip.
Step 4: With the top clip selected at the bottom of your viewer window, click the Transform tool.
Step 5: Grab one of the corner handles and drag it toward the center of the viewer window to resize the image.
Step 6: Click and drag on the middle handle to reposition the clip.
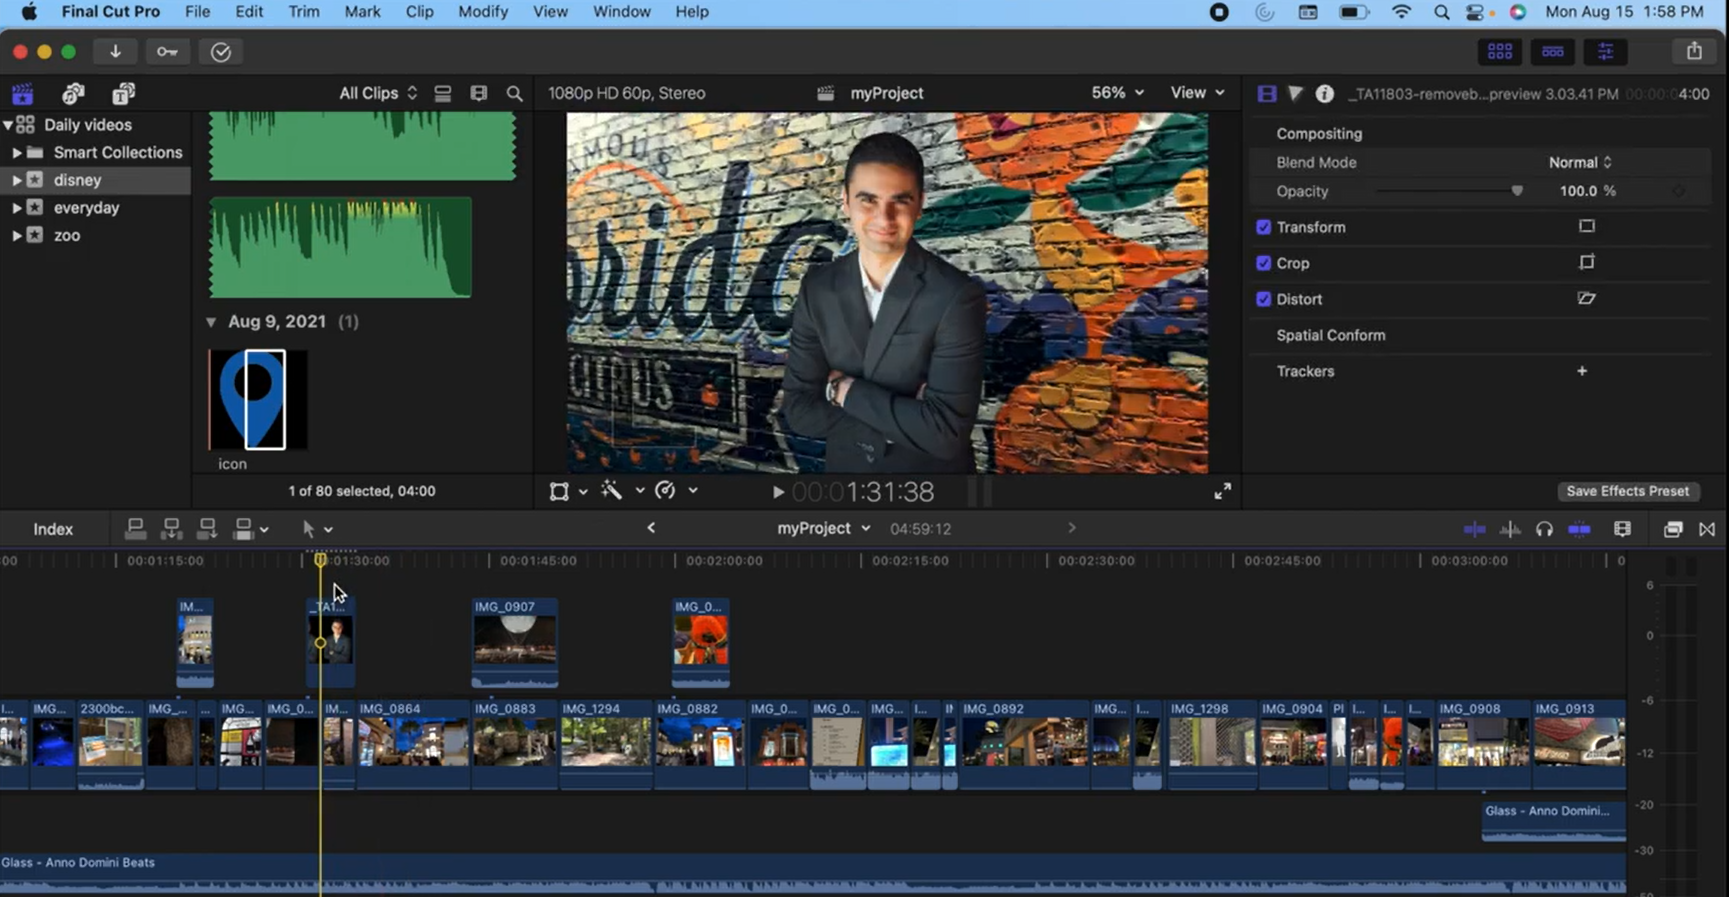
Step 7: Click Done to apply the picture-in-picture effect in your project.
Way 3. Insert Photos to Video in iMovie (Mac/iOS)
iMovie is a free iOS and macOS software pre-installed on your Apple device. It can insert a picture over a video and create a "picture-in-picture" effect. There are even some options for animating the overlaid image as you superimpose it.
How to Add Picture to Video Using iMovie
Step 1: Launch and open iMovie from Finder or Launchpad. Create a new project.
Step 2: Tap the File menu and select Import Media.
Step 3: Locate the video and picture you plan to use and import them to the project.
Step 4: Select a clip or range of clips you want to use and drag it above a clip in the timeline.
Step 5: Drag your image until it shows the green Add icon (+). Then release the mouse button.
Step 6: Click the popup menu on the left and choose Picture in Picture. This will bring up more controls for combining the images.
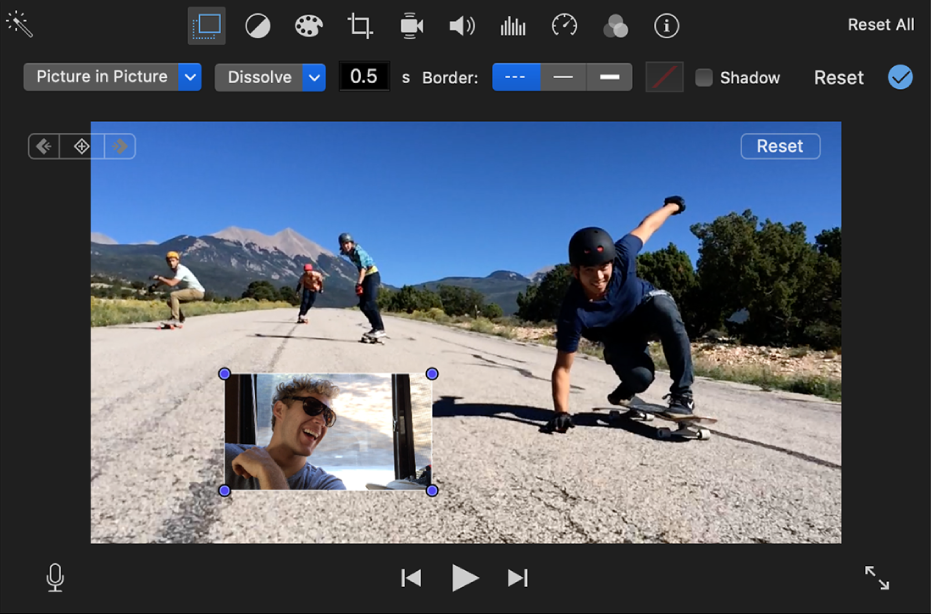
Step 7: Click and drag the image to the screen where you want it to display. You can also alter transition effects and border settings to give the video a different look.
Step 8: Click File and tap Share to upload directly to Vimeo or YouTube, attach it to an email, or download it to a file on your computer.
Way 4. Add Picture to Video in Windows Movie Maker (Windows)
Windows Movie Maker is pre-installed on many Windows devices, and while support is no longer offered, people with the software on their machines can still use it to insert a picture in a video. It has a simple interface that does not take long to get to grips with even for novices or beginners.
How to Add Picture to Video Using Windows Movie Maker
Step 1: Open Windows Movie Maker and click Import Video > Import Pictures.
Step 2: Pick all the items you want to use and then drag them onto the Timeline on the screen's bottom.
Step 3: Choose where to insert your picture and split the video clip in two by clicking the Split button in the preview window. Drag the image on the Timeline so it's in the right place.
Step 4: Click View video transitions to add effects between the clips.
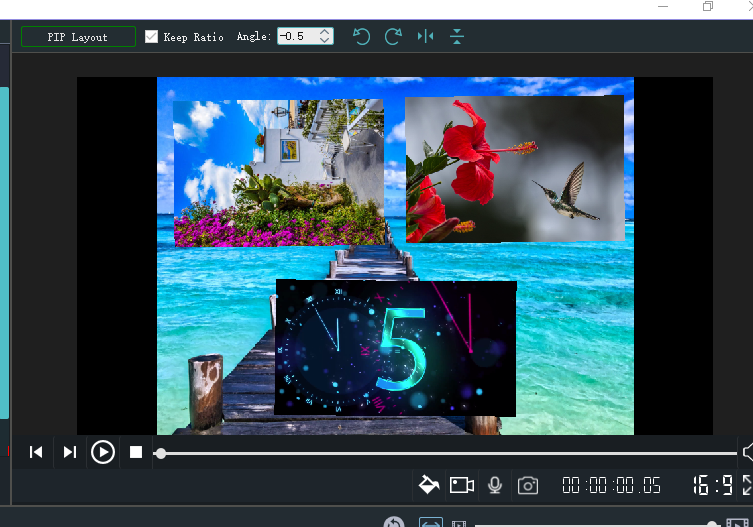
Step 5: Open File > Save Movie File > My Computer option.
Step 6: Click Next, enter a file name, and browse for the appropriate destination folder.
Step 7: Click Next again and select the best quality for playback.
Step 8: Click Next to export the clip.
Way 5. Put Photos on Video in KineMaster (Android/iOS)
KineMaster is an excellent video editing and making app. Its fast, free, and user-friendly interface allows you to edit and add photos and videos on your smartphone.
How to Add Picture to Video Using KineMaster
Step 1: Download and open KineMaster on your Android phone.
Step 2: Create a new project in KineMaster.
Step 3: Add the video clips to the timeline.
Step 4: You can tap the Layer icon on the tools wheel. Tap the Media icon to browse the pictures on your mobile phone. Select the picture you like and add it to the video.
Step 5: Add popup or disappear animation.
If you want the picture to show up or disappear funny, tap on the image and select styles for In Animation and Out Animation.
Way 6. Add Photo to Video Online Free with VEED.IO (Online)
VEED.IO is free software that can add images, photos, and logos to your videos online. It can help you grab your audience's attention and increase your engagement on social media. VEED.IO is excellent for creating marketing videos and sharing special moments with your friends.
How to Add Picture to Video Using VEED.IO
Step 1: Launch Veed.IO on your current web browser.
Step 2: Click Add photo to video on the main interface.
Step 3: Upload your video to the program. You can also start recording a video using the webcam recorder. Or, use VEED's highly customizable video templates without trouble.
Step 4: Add your images, logos, or watermarks and position them anywhere on the canvas.
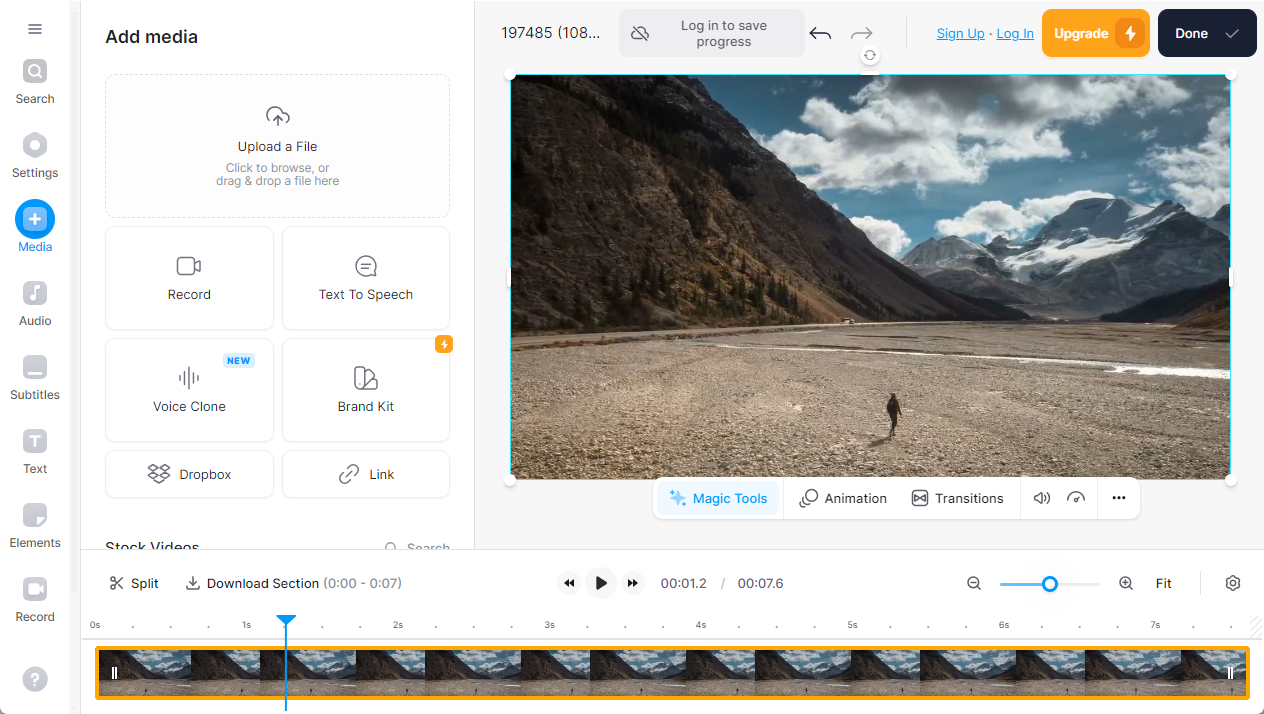
Step 5: You can crop, resize, and edit your images as you wish. Also, you can choose when the photo will appear on the timeline.
Step 6: Export your new video or explore the full suite of video editing tools!
You can also add royalty-free music, transitions between clips, and more!
The Bottom Line
Now you have learned how to add picture in video to create dynamic and engaging video presentations. We have assisted you with the 6 best online and offline tools to combine a video and an image effectively on any device, be it Windows, Mac, Android, or iOS. Using the built-in tools, you can add a picture of your choice to your video in a few steps. So, choose any software and begin editing!


