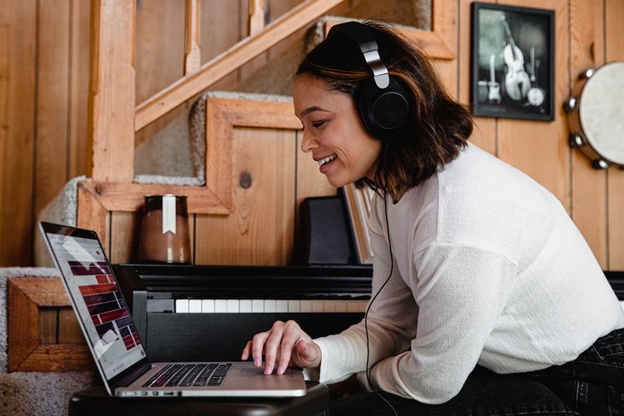
Ready to dive into the exciting world of screen recording with audio? Whether you're a rookie or looking to up your game, this step-by-step tutorial will be your trusty guide. Get ready to captivate your audience and unleash your creativity as we cover everything from choosing the perfect software to effortlessly sharing your recordings.

So, grab your microphone, and let's embark on this exciting journey of screen recording wizardry. It's time to press that record button and make your screen come alive with audio!
Step 1: Selecting the Right Screen Recording Software
To begin, it's crucial to choose the right screen recorder with audio. There are numerous options available, each with its own set of features. Popular choices include AWZware, OBS Studio, Camtasia, and QuickTime. Consider factors such as ease of use, compatibility with your operating system, available features, and budget when selecting.
Step 2: Setting Up Your Recording Equipment
To ensure high-quality audio, setting up your recording equipment correctly is important. Choose a suitable microphone and position it properly for optimal audio capture. Adjust audio settings to achieve the desired volume and clarity, ensuring your voice is audible and clear in the recording.
Step 3: Adjusting Screen Recording Settings
Adjust the recording settings before starting the screen recording according to your needs. Most screen recorder apps allows you to select the desired screen area to capture. Choose the portion of the screen you want to record, whether it's the entire screen or a specific window. Select the appropriate audio input source to ensure that your microphone's audio is recorded along with the screen activity.
Step 4: Preparing for the Recording
Before you hit the record button, preparing your screen for recording is essential. Begin by decluttering your screen, removing unnecessary elements, and closing irrelevant applications. This will help create a tidy and polished recording, enhancing the overall professionalism and facilitating a smoother viewing experience for your audience. Additionally, take the time to organize your desktop, arranging icons and files neatly. By doing so, you will further enhance the visual appeal of the recording and minimize distractions. Remember, a clean and well-organized screen will make it easier for viewers to follow along and reflect positively on the quality of your content.
Step 5: Starting the Screen Recording
Now that all the preparations are complete, it's time to begin using the screen recording software. Take a moment to acquaint yourself with the software's interface and double-check that the audio input settings are correctly configured. When you feel confident, commence the recording session and verify that the audio is effectively recorded.
Step 6: Recording Your Screen
Now comes the fun part – recording your screen! While engaging in the desired activities you wish to capture, whether it involves showcasing software features, guiding viewers through a tutorial, or demonstrating gameplay, it is important to narrate the process effectively. Simultaneously, deliver clear and concise explanations that complement the visual elements. Maintain a moderate pace of speech and ensure the articulation of your words, enabling optimal clarity in the audio recording.
Doing so will enhance the comprehensibility of your content, making it easier for viewers to follow along and understand the actions being performed. Remember, thoughtful narration and synchronized visual demonstrations will create a cohesive and engaging experience for your audience.
Step 7: Pausing and Resuming the Recording
During the recording, interruptions may occur. Learn to pause and resume the recording seamlessly to avoid losing your progress. This feature is handy when you need to take a break or handle unforeseen circumstances. Most recording software allows you to pause and resume with a simple keyboard shortcut or button.
Step 8: Finishing the Screen Recording
Once you've completed your recording, it's time to wrap things up. End the recording session within the software and review the captured content. Ensure that the audio and screen recording has been saved successfully. If you're satisfied with the result, proceed to the next step.
Step 9: Reviewing and Editing the Recorded Video
Playback your recorded video to ensure its quality and check for any imperfections. If needed, consider making basic edits, such as trimming unwanted sections, enhancing audio levels, or adding annotations. Most screen recording software provides basic editing capabilities to refine your recording.
Step 10: Exporting and Sharing Your Recording
After reviewing and editing, it's time to export your recording. Choose an appropriate file format that balances quality and file size. Popular options include MP4, AVI, or MOV. Consider the platform's requirements where you intend to share your recording, whether it's YouTube, a learning management system, or social media. Finally, explore the various sharing options, such as direct uploads or cloud storage.
Final thoughts
Congratulations! You've learned how to record your screen with audio like a pro. By following this comprehensive tutorial, you can confidently create engaging tutorials, presentations, and videos. Remember to practice and explore different features of your screen recording software to enhance your skills further. Whether you're an educator, marketer, content creator, or simply want to share your knowledge, screen recording with audio opens up a world of possibilities. And if you need to set appointments with your clients, it helps to integrate with the best app for scheduling employees. Start recording and share your expertise with the world!


