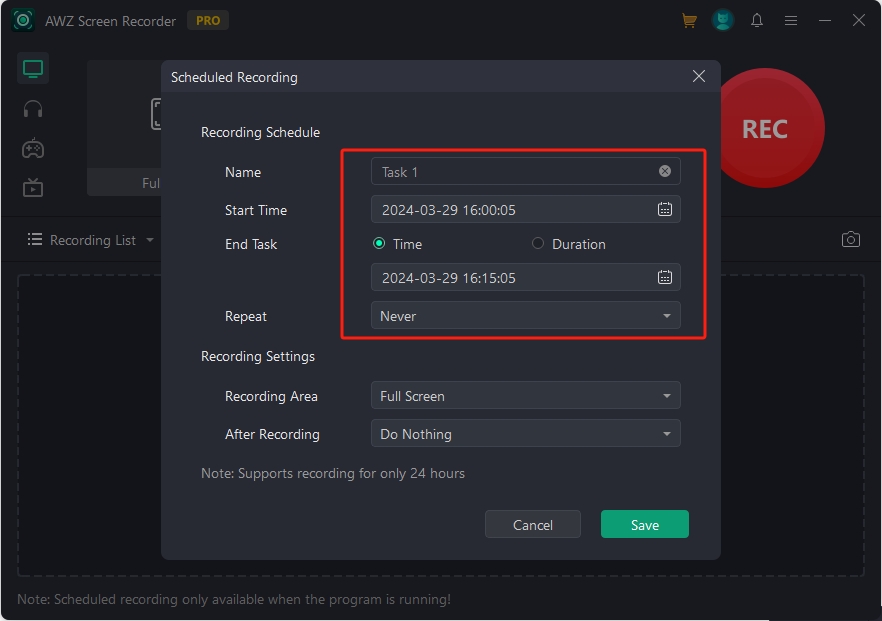
Scheduling a recording in advance is never a problem in AWZ Screen Recorder. The software boasts a Scheduled Recording feature, enabling you to create a recording task that starts and ends at a specific time. The capability can arrange for the same task to be performed on a regular basis, including daily, weekly, and monthly.
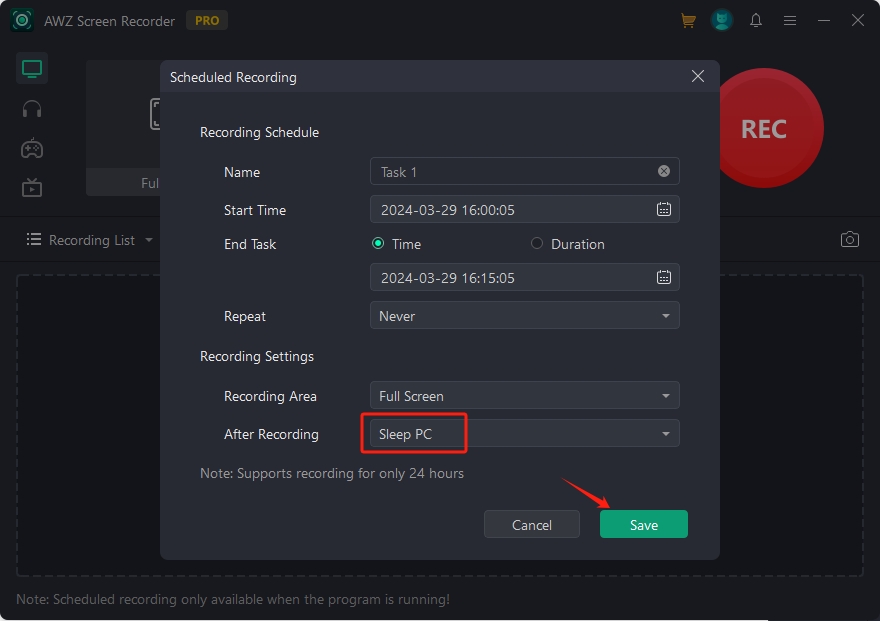
You can determine what AWZ Screen Recorder needs to do after finishing the task. Three options are available: Do Nothing, Sleep PC, and Shutdown PC, to remove some hassles.
How to Set a Recording Schedule
Follow the step-by-step tutorial to create a scheduled recording task on your computer:
Step 1: Open AWZ Screen Recorder on a PC;
Step 2: Click Scheduled Recording at the bottom of the control panel window. Tap the workstation below;

Step 3: Give the task a new name. Set the start and end times;
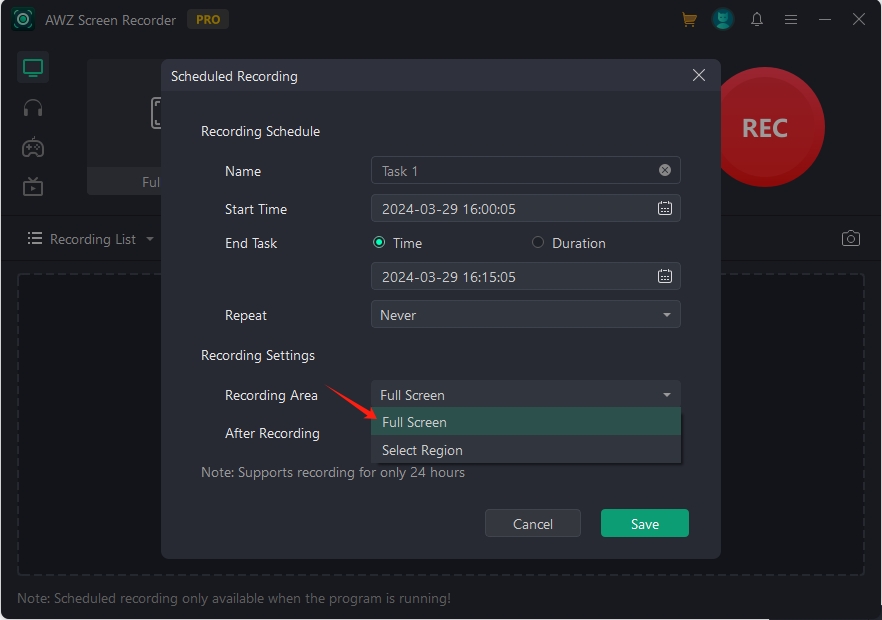
Step 4: Hit the drop-down button next to Recording Area to decide the recording region;
Step 5: Adjust what the program going to do after recording. Tap Save to create the recording task.