
Let this AWZware article help you understand how to make a time-lapse video from scratch or time lapse a video already recorded or saved smoothly with the four best methods on any device. You can keep it on your device or upload it to social media to share with friends.
How to Make a Time-Lapse Video with Inbuilt Camera
On iPhone
The iPhone camera's features and abilities are excellent for recording high-quality videos and images. You can capture video at a selected interval to create a time-lapse video of an experience over time— such as a setting sun or traffic flow. Instead, it lets you do and edit a time-lapse video on your iPhone.
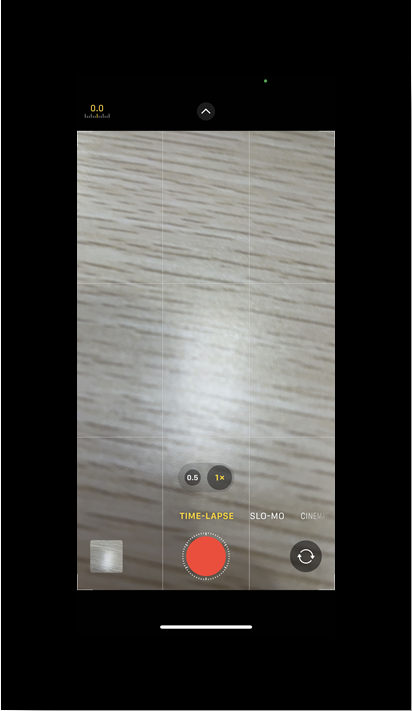
How to make a time-lapse video on an iPhone:
Step 1: Open your camera and select the Time-lapse mode.
Step 2: Set up your iPhone where you want to capture a scene in motion.
Step 3: Hit the Record tab to begin recording and create a time-lapse video.
Step 4: Click the Record tab again to stop your recording.
On Android
If you own the latest Samsung, LG, or HTC phones, you can easily make a time-lapse video on Android, as these devices' built-in camera has a time-lapse feature. So, you can create stunning hyperlapse on your Android device yourself. However, time-lapse video requires keeping the phone in a static position, so you must be without your device for an extended period of time.
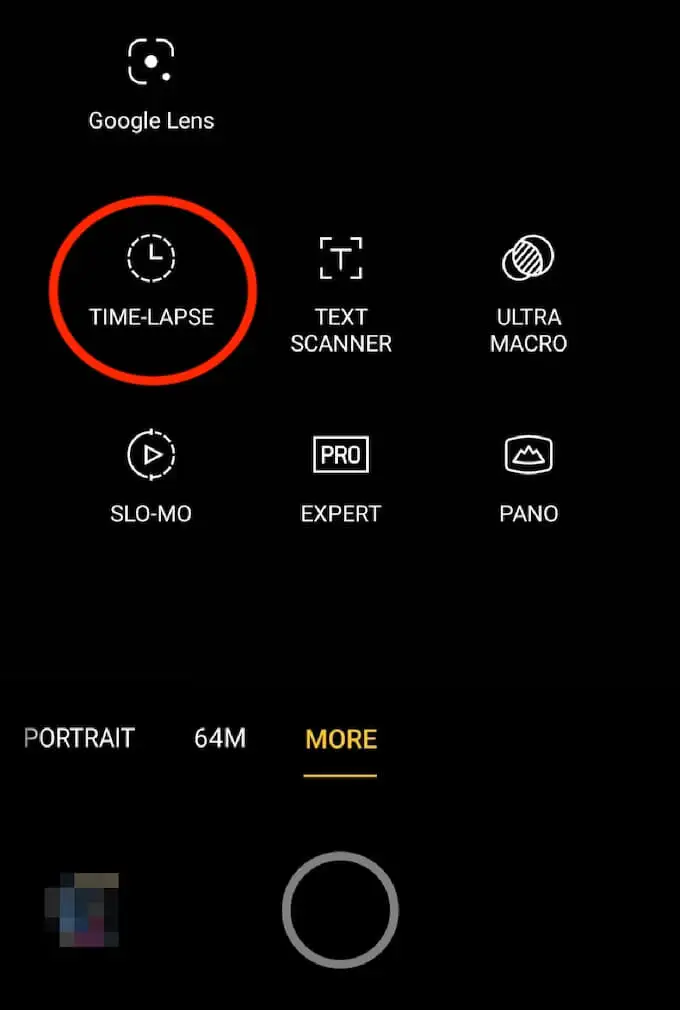
How to do a time-lapse video on Android:
Step 1: Launch the built-in Camera app on your Android device.
Step 2: Switch to the video mode.
Step 3: Choose Time lapse to film a time-lapse video.
How to Time Lapse a Video Using iMovie
On iPhone
If you accidentally recorded a regular video or want to time lapse a video on an iPhone, you can use the iMovie app. However, you must know that while iMovie can time lapse a video, it can only double your video's speed. The camera app's time-lapse feature only records 1 to 2 frames per second compared to the default 30 frames for regular-speed video, which results in a much stronger time-lapse effect.
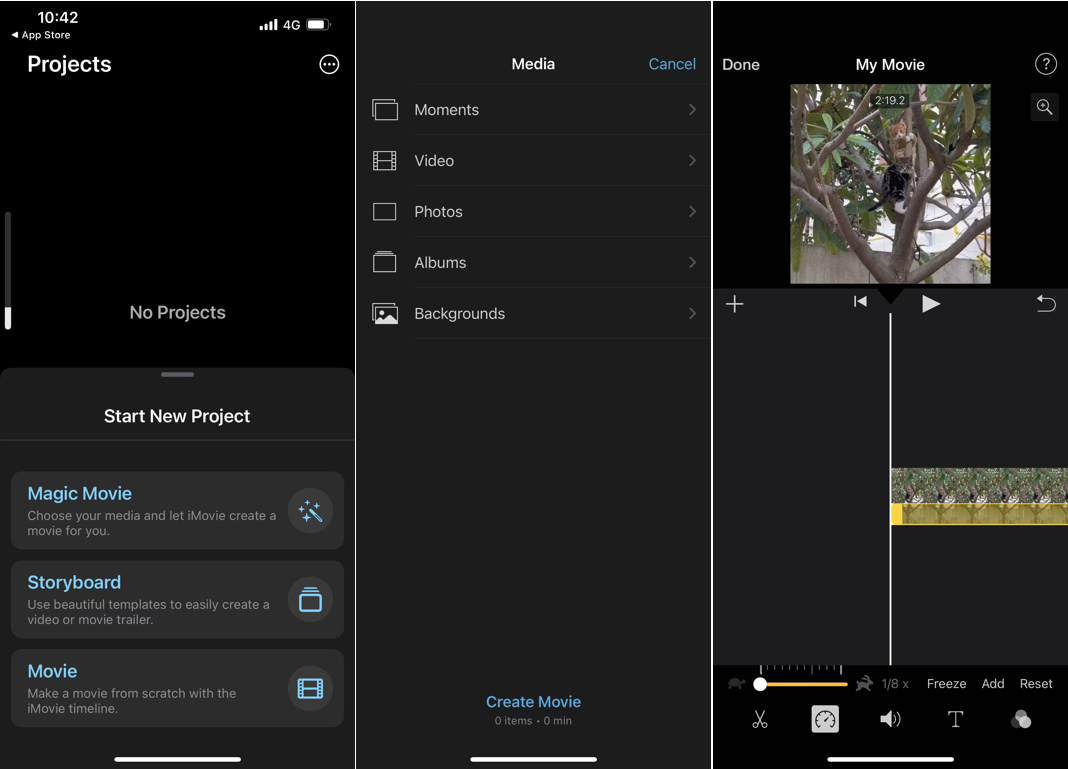
How to make a time-lapse video on your phone:
Step 1: Open iMovie and click + Create Project.
Step 2: Tap Movie and click the video you want to time lapse.
Step 3: Click Create Movie and tap the video in the timeline.
Step 4: Click Clock at the lower-left. Click and drag the Speed slider to the right to turn the video into a time-lapse.
Step 5: Click Done and tap the Share icon. Click Save.
On Mac
You can make a video time-lapse in iMovie on an iPhone but cannot take photos as a time-lapse video. However, you can create a time-lapse on Mac with iMovie as iMovie is built-in and free.
How to make a time-lapse video from photos on a Mac:
Step 1: Open iMovie and create a new project.
Step 2: Choose Movie on the project type selection screen.
Step 3: Click the iMovie icon and select Preferences to bring a new window.
Step 4: Go to Photo Placement and select Crop to fill.
Step 5: Set the Photo Duration as 0,1 seconds to create a time-lapse video from photos.
Step 6: Press the Import Media button to import all your photos and drag them into the timeline.
Step 7: Now, export the file, import it again, and speed up the video.
Step 8: After importing the saved file and dragging it into the timeline, click the little Speed meter icon at the bottom of the screen to set your timelapse speed.

How to Do a Time Lapse Video with OSnap
OSnap is a tremendous time-lapse and stop-motion tool for iOS devices. It is a simple, intuitive, and powerful tool that can easily create and share stunning videos. Packed with top-notch features and abilities, OSnap can record a time-lapse video and capture photographs like a pro. Furthermore, it lets you add music and voiceovers, enables powerful editing, and flawlessly harnesses innovative shots.
How to make a time-lapse video on iOS with OSnap
Step 1: Download and launch OSnap on your iOS device.
Step 2: Click the + icon on the home screen and choose New Project.
Step 3: Enter the name and select Landscape and Back Camera. Then, click Create to shoot a time-lapse video.
Step 4: Start shooting and adjust the angles by rotating your device.
Step 5: Add a timer interval by clicking the Clock icon and choosing Adjust Current Timer Settings.
Step 6: Choose Timer Interval from the Timer Settings menu. Say, 4 second interval.
Step 7: Return to the primary screen and tap the Clock icon. If you have selected 'delayed start,' choose Start Timer.
Step 8: Click the Stop icon to stop shooting the video.
Download AWZ Mac Screen Recorder for Free Screen Recording
How to Take a Time Lapse Video via DSLR Camera
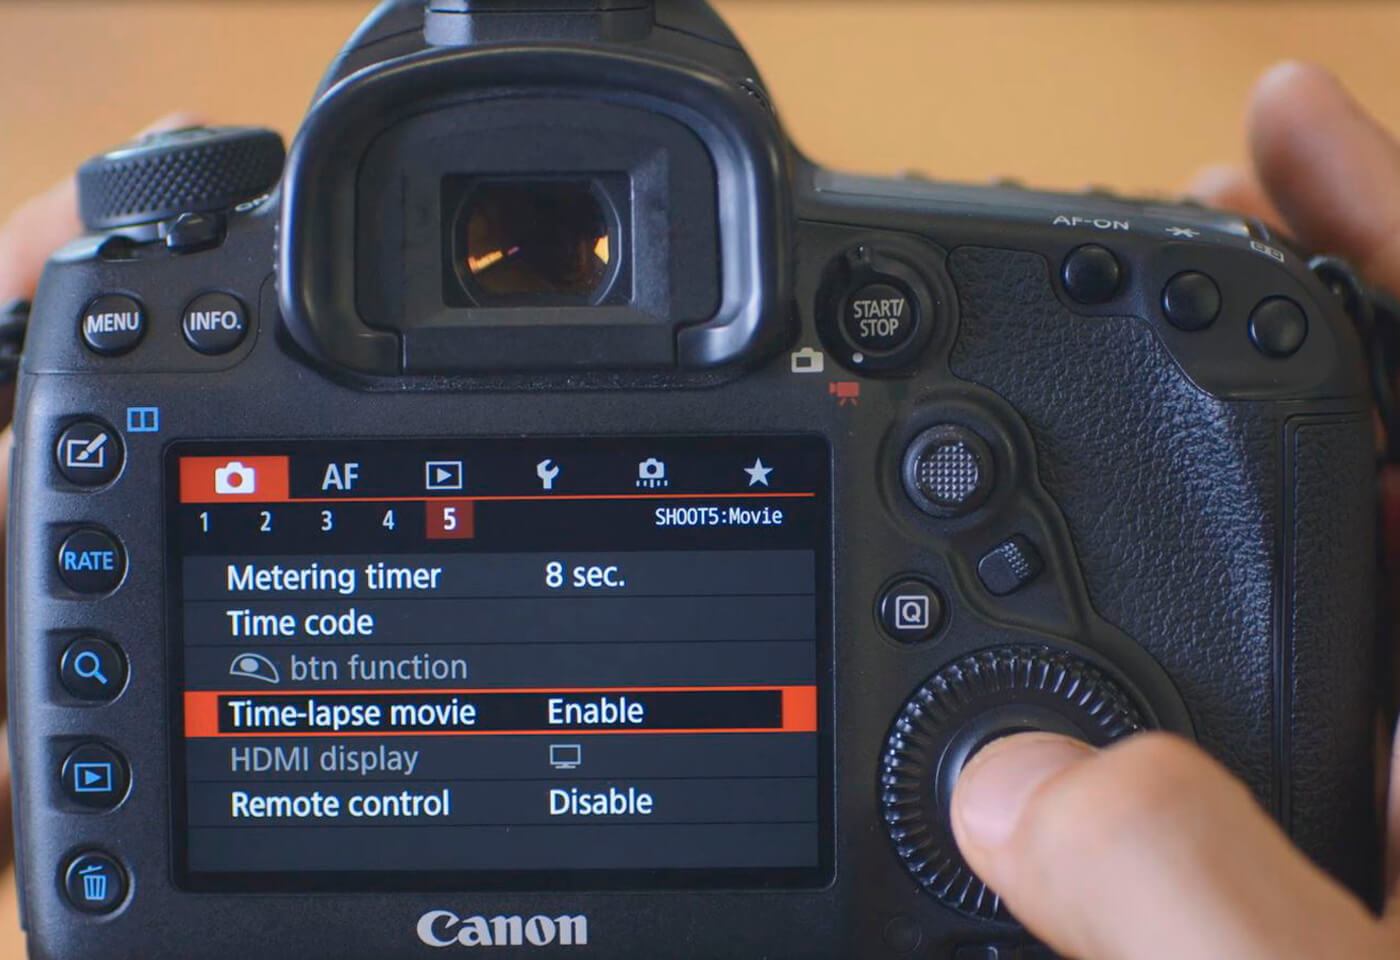
A DSLR camera can also allow you to make a long time-lapse video for a professional effect. Still photos allow for a longer exposure and create a beautiful motion blur. Additionally, photos have a far greater resolution than videos, giving you more resolution to zoom in and out as you please. You must have sufficient storage space, as large-scale time-lapse using DSLR may require capturing thousands of stills and editing your footage.
Check how to make a time-lapse video with a DSLR camera.
Step 1: Start with a stable tripod or surface to capture high-quality video.
Step 2: Use still photo mode on your DSLR and ensure you are on manual exposure.
Step 3: Use a slower shutter speed to give your video a more blurred motion effect, as a faster speed can make it look choppier.
Step 4: Use the internal time lapse or interval mode to add time lapse to the video.
Step 5: After capturing all the individual stills, import them into your editing software and stitch them together.
Screen Record a Time Lapse Video and Add a Comment

Besides creating a time-lapse video, you can also screen record one and add comments using AWZ Screen Recorder. While recording, you can easily add annotations to add texts, arrows, freehand lines, and shapes. AWZ Screen Recorder also lets you record videos of the original HD quality and enables you to edit, trim, and compress your video. Your recording has no time limit; you can also take flawless screenshots.
Download AWZ Screen Recorder for Mac
To Sum Up
Time-lapse videos are a fun way to capture stunning sceneries and highlight a different world perspective. It also lets you create excellent content on social media. You can capture these moments with your phone's built-in cameras for free, without any unnecessary downloads to make a time-lapse video with a camera or make a regular video time-lapse.
Whether you prefer stitching together HD pictures or using a video editor to do it all, we have suggested the four best methods to help you with the process.

Quick Steps to Add Music to Video on Windows/Mac/iPhone
Wondering how to add music to a video to increase video engagement? This post will tell you how to do that on Windows, Mac and iPhone.
READ MORE >


