What Tools Can Help You Screen Record on Gateway Laptop?
A screen recorder is a must to make screen recordings on your Gateway laptop. Let's take a look at the basic information about these tools.
➡️ AWZ Screen Recorder is a professional screen recording tool that can record any on-screen activity with or without audio. It is the best choice if you want to take control of the recording. You can click the download button to get the recorder and start immediately.
➡️ Xbox Game Bar is a built-in recorder that can record any app window except for File Explorer. However, it can only record up to 2 hours of video.
➡️ OBS Studio is an open-source screen recording program that offers a wide range of features. However, its interface is complex, and beginners may feel overwhelmed.
➡️ Panopto is an online recorder that helps you record in your browser. It requires a good internet connection to ensure recording without lagging.
The following section will show you the exact steps. You can try these tools one by one to find the one that best meets your needs.
Way 1. Screen Record on Gateway Laptop via AWZ Screen Recorder
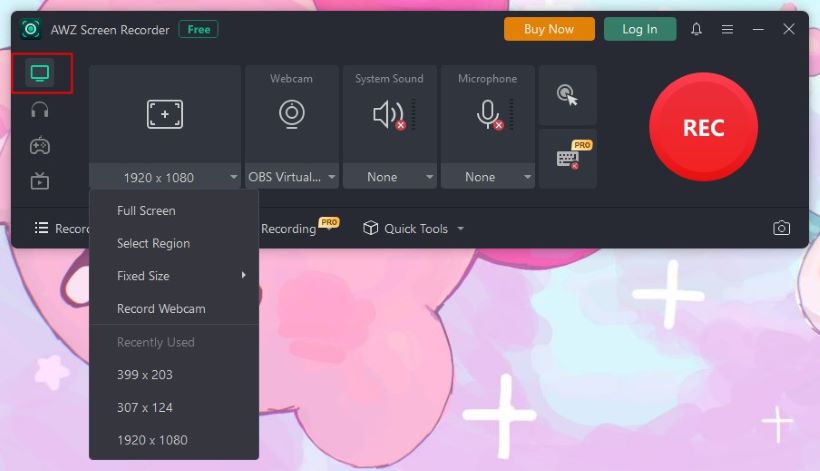
A professional recorder will make things easy. AWZ Screen Recorder supports recording anything on the screen: the full screen, the app window, the webcam, and the app window/webcam with other parts of the screen. In addition, it offers many customization options to help you record the video you want.
⭐️ Record screen with or without system audio/microphone
⭐️ Record screen with or without mouse cursor/keyboard key presses
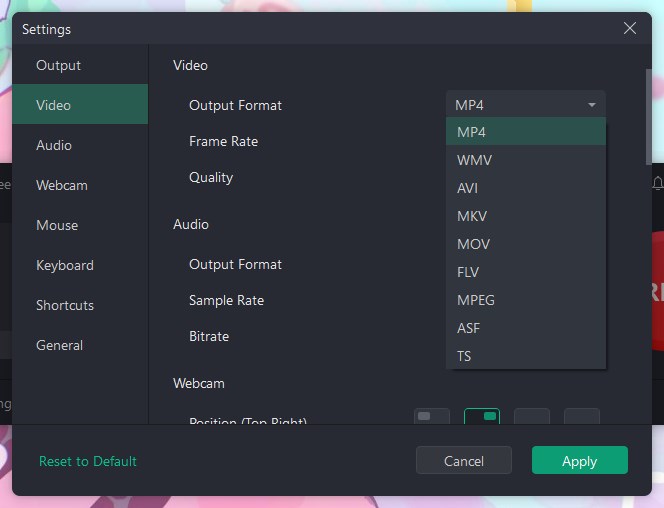
⭐️ It lets you adjust video quality, output format, frame rate, and more
In short, AWZ Screen Recorder can help you quickly record gameplay, online meetings/courses, streaming movies/TV shows, video calls, and tutorials. Read on to learn how to use this recorder.
1. Download, install, and launch AWZ Screen Recorder.
2. Click the hamburger icon > Choose Settings > Adjust settings as per your needs > Click Apply to save the changes.
3. Go to Screen Record > Choose the recording area > Turn on the audio channel if needed.
4. Click the REC button and the recording will start after 3 seconds.
During the recording, you can take screenshots or add annotations.
![]()
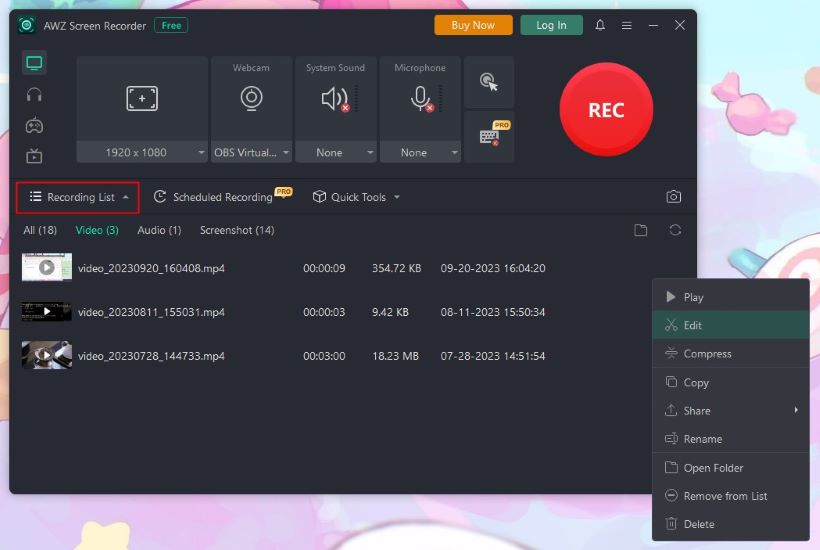
5. After the recording, you can go to Recording List to check the recording. If needed, you can cut out unwanted parts or compress the video.
As you can see, screen recording with AWZ Screen Recorder is straightforward and efficient. Both professionals and novices can record high-quality videos in a few clicks. Give it a try!
Way 2. Screen Record on Gateway Laptop via Xbox Game Bar
Xbox Game Bar is a handy option for Gateway laptop users. It is a built-in Windows 10 and 11 tool, so you don't need to install additional software to start recording. It has a simple workflow for starting and stopping the recording.
However, it can only record one application window at a time. Compared with a professional recorder, it lacks some advanced features.
1. Go to the app you want to record. You can display it in full screen.
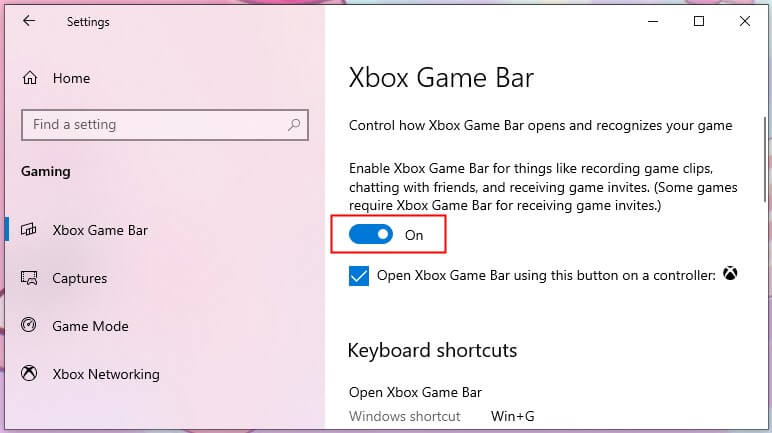
2. Press Windows + G to launch Game Bar. If nothing happens, go to Start > Settings > Gaming to turn on the recording feature.
3. Click the Audio icon to adjust the volume.
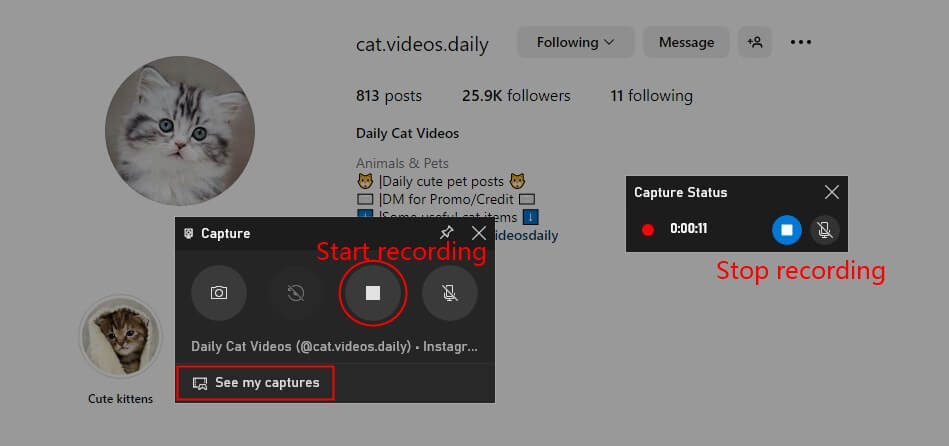
4. When ready, click the Start Recording button.
5. To end the recording, click Stop Recording and go to See my captures to check the recording.
Way 3. Screen Record on Gateway Laptop via OBS Studio
OBS Studio is a popular open-source program for video recording and streaming. It offers various customization options to help users easily adjust every aspect of their recordings, from resolution and bitrate to audio settings and sources.
With OBS Studio, you can easily record the entire screen or any app window. However, its complex interface and various customization options can overwhelm beginners! It requires a steep learning curve to understand how to make recordings.
Anyhow, let me show you how to use OBS Studio.
1. Go to https://obsproject.com/download to download OBS Studio.
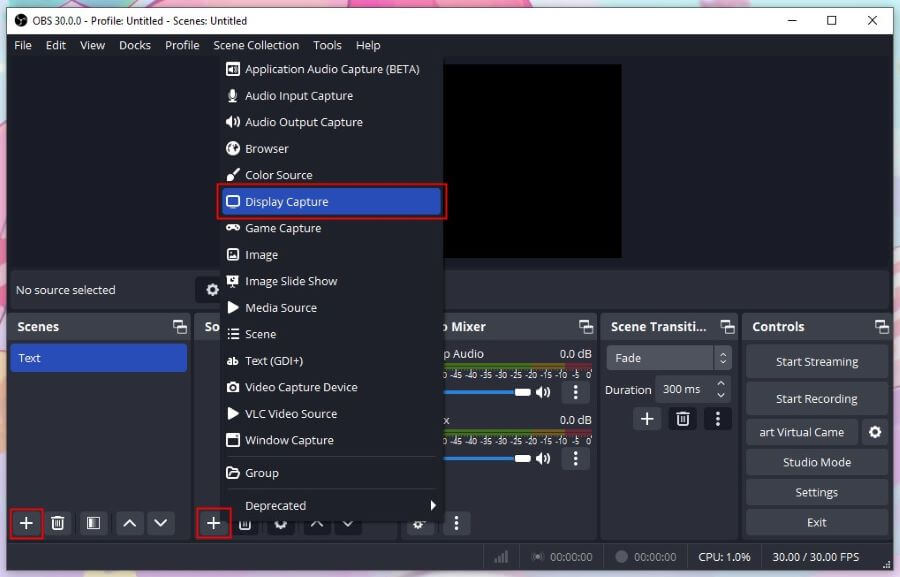
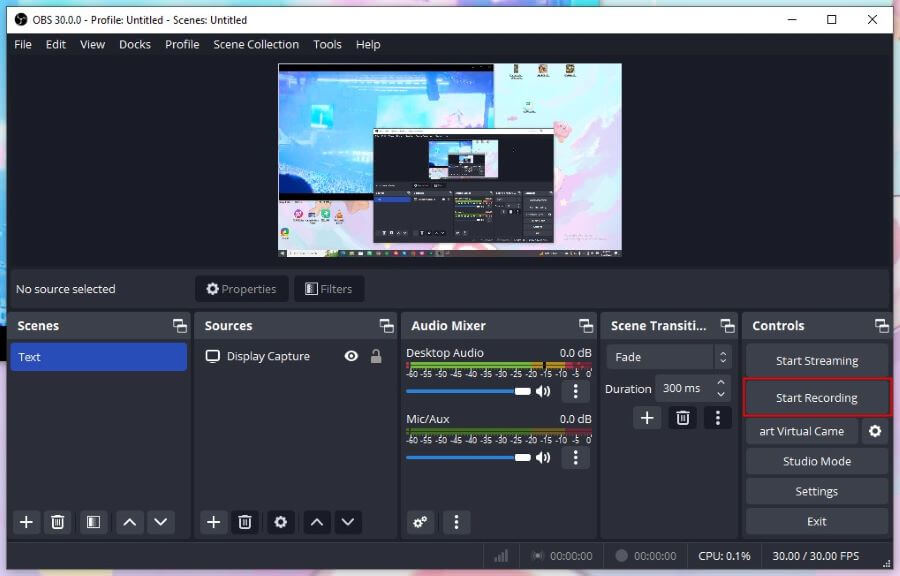
2. Launch the software > Find Scenes box and click the Plus icon to create a new one > Go to Sources box and click the Plus icon to select a recording mode.
Choose Display Capture to record the entire screen; choose Window Capture to record any app window.
3. Go to the Audio Mixer box to adjust the audio source and volume.
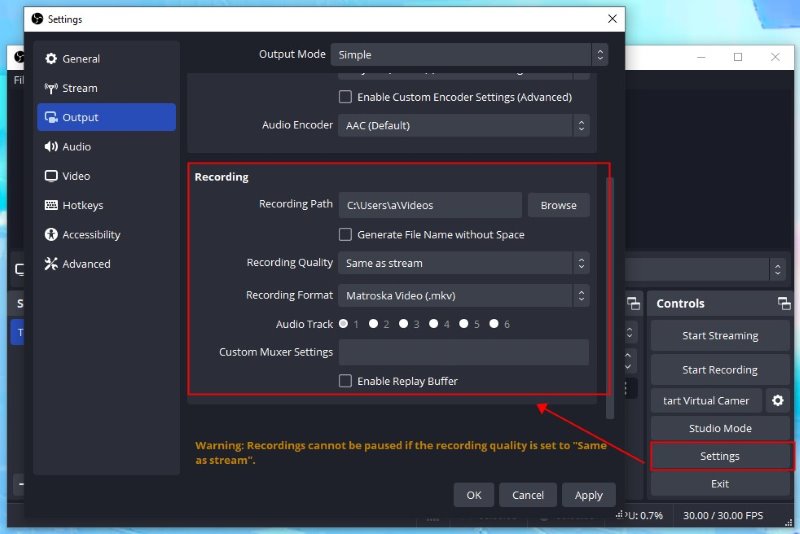
4. Go to the Controls box and click Settings to adjust recording settings.
5. Click Start Recording when you are ready.
6. Click Stop Recording to end the recording. Then, click File and choose Showing Recordings to view the video.
Way 4. Screen Record on Gateway Laptop via Panopto
Another way to screen record on a Gateway laptop is to use an online recording tool. One advantage of this method is that there is no need to download or install software, saving space and time. Many online recorders have a user-friendly interface that allows anyone to record in a few clicks.
However, these online tools have fewer features and offer less control over recording. In addition, it requires a stable Internet connection to work. Here, let me take Panopto as an example. You can also search for "screen record online" in your browser and choose one you like.
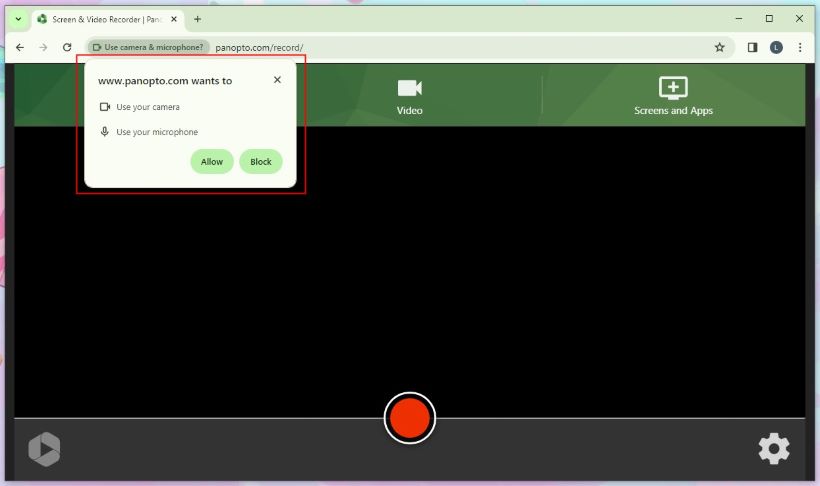
1. Open your browser and go to https://www.panopto.com/record/ > Click Start Recording Now and allow the tool to use your camera and microphone.
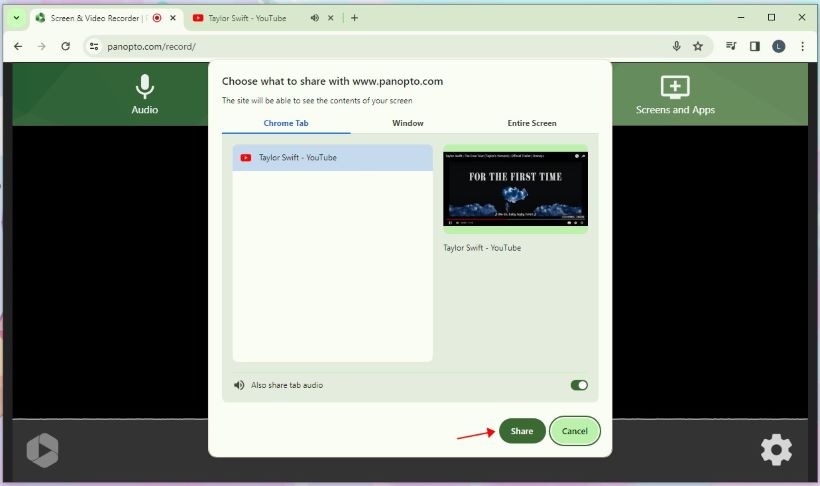
2. Choose the Screens and Apps option > Select the recording source: a tab, an app window, or the entire screen.
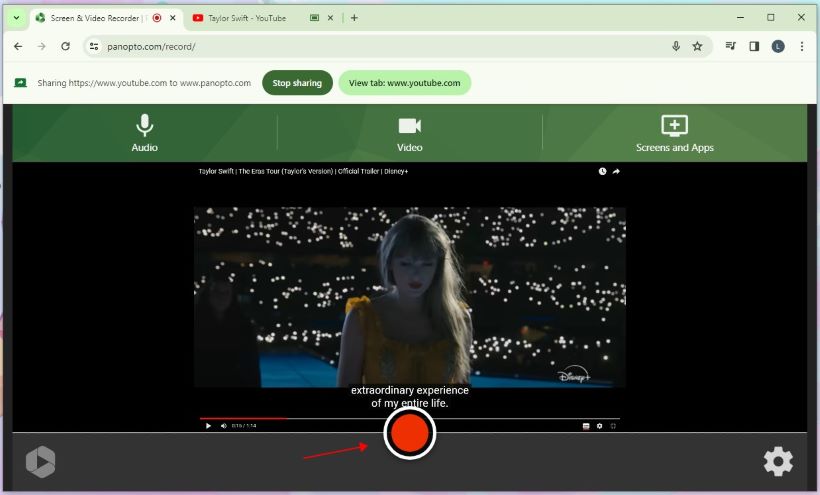
3. Click the red Record button to start.
4. Click the Stop button and download the recording.
Conclusion
That’s all about how to screen record on Gateway laptops. Each tool has advantages and disadvantages. You can choose according to your situation. If you want to take complete control of your recording, AWZ Screen Recorder is the way to go. It lets you record any screen activity and offers various customization settings. It’s worth giving it a try!