You may sometimes need to record the screen on your Mac device. Perhaps in order to record a zoom meeting, a playing video, a PowerPoint presentation, or other screen activities for later playback and review. Screen recording is not a big problem but you might not know how to screen record on Mac with audio. Whether you haven’t found the right method to enable the audio or just don’t know the way, this article comes with solutions.
You can either take advantage of the native screen recording tools on Mac or turn to handy third-party software. They let you record screen on Mac with internal audio or external mic audio, or both. The steps to screen record on Mac with audio using each of them are written to be easy to follow. Without further ado, read on to learn the how-to. Additionally, there are more screen recording tutorials from AWZware's Screen Recording Tips.
The Best Screen Recorder to Record Screen with Audio
Before diving into how to screen record on Mac with audio, we'd like to introduce AWZ Screen Recorder to you. It is one of the easiest-to-use video and audio screen recording software with a small size and an intuitive user interface. You can record anything on a screen, including gameplay, meetings, and streaming videos easily. Multiple output formats such as MP4, WMV, AVI, MOV and FLV are supported.
How to Screen Record on Mac with Audio Using QuickTime Player
QuickTime Player is a screen recorder built into macOS. It enables you to record the screen on Mac with your voice audio included for free. You have the options to record a full screen or a selected area. The Mac screen recorder allows you to play and edit the recordings. The application offered by Apple Inc. can also help share your screen recordings and take screenshots. No need to install any other app.
Check how to screen record on Mac with audio using QuickTime Player.
Step 1: Search for and open the QuickTime Player app on your Mac;
Step 2: Tap File on the top and choose New Screen Recording in the drop-down list;

Step 3: Click the Options drop-down arrow in the control toolbar that appears, choose where to save the recording, and tick Built-in Microphone;
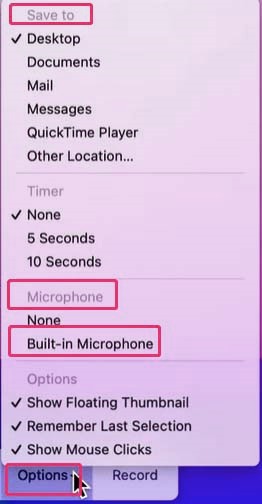
Step 4: Select Record Entire Screen or Record Selected Portion from the controls bar, set the recording area and hit Record to start screen recording;

Step 5: To stop recording, press Command + Control + Esc or tap the stop icon.
That’s how to screen record on Mac with audio using the native support. The recording is saved in MOV format. You should be noted that QuickTime Player can only record audio from the computer microphone. If you want to screen record with internal audio, audio from video or your computer audio, an audio routing plugin will be necessary. After the plugin installation, you can set it as the audio output device to output higher quality audio with your screen recording.
How to Record Screen with Audio on Mac High Aierra
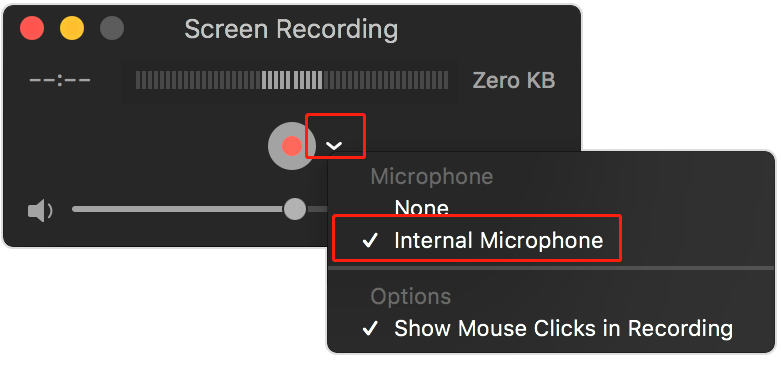
If you are using macOS High Sierra, the recording toolbar looks different as below. You can still click the drop-down arrow beside the recording button to check the Internal Microphone option. You can drag the volume slider to adjust the audio volume. Then click the red recording button to screen record on Mac with audio.
How to Screen Record on Mac with Audio Using Screenshot Toolbar
When it comes to how to record screen on Mac with audio, Screenshot toolbar is another free screen recording tool to be mentioned. To be precise, it is available in macOS Mojave and later. This tool allows you to screen record on Mac with audio from microphone or external audio. Like QuickTime Player, it also lets you record a specific region or an entire screen. The toolbar makes capturing images of your screen easily.
Now take a look at how to screen record on Mac with audio in a few steps.
Step 1: Press Shift + Command + 5 to access the Screenshot Toolbar on a Mac;
Step 2: Click Options to choose the output path and internal microphone;
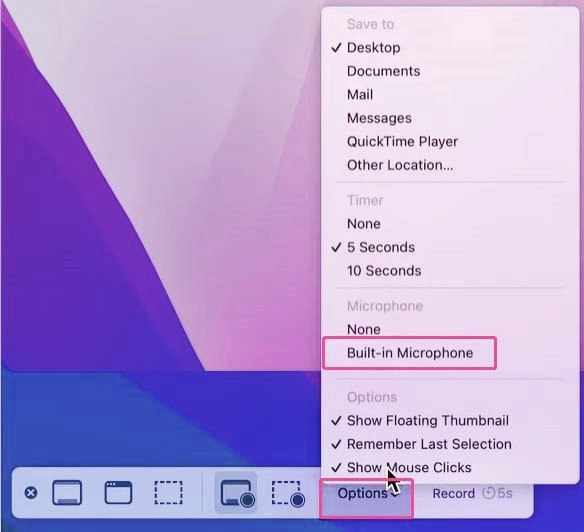
Step 3: Tap the Record button to start screen recording on the Mac with audio;
Step 4: Click the stop icon on the top menu bar to end the recording.

You can also press Command + Control + Esc shortcut key to stop the screen recording.
How to Screen Record on Mac with Audio via RecordCast
RecordCast is one of the fastest and simple ways to screen record with audio on Mac. So you can complete your recording work without QuickTime Player or Screenshot toolbar. This is an online free screen recorder for Mac, Windows, Linux and Chromebook. It enables you to screen record on Mac with audio and video together or record camera to create picture-in-picture recordings. Moreover, it provides a video editor.
Here we show you exactly how to record your screen with audio on a Mac via RecordCast.
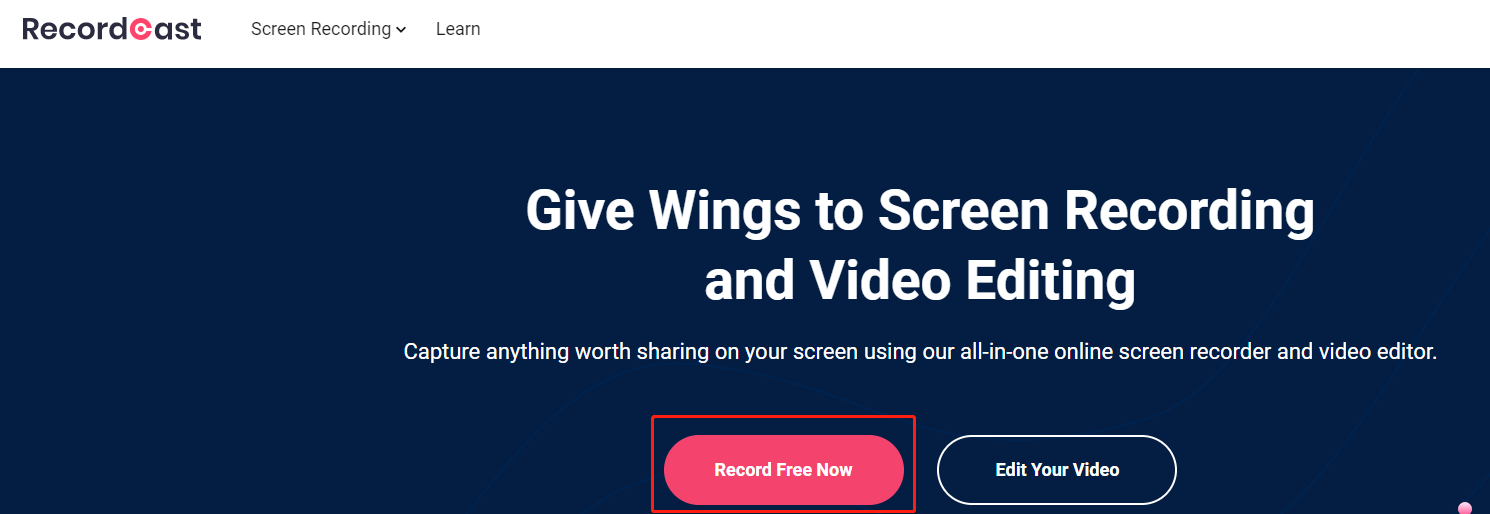
Step 1: Open the online screen recording software on the web, and click Record Free Now;
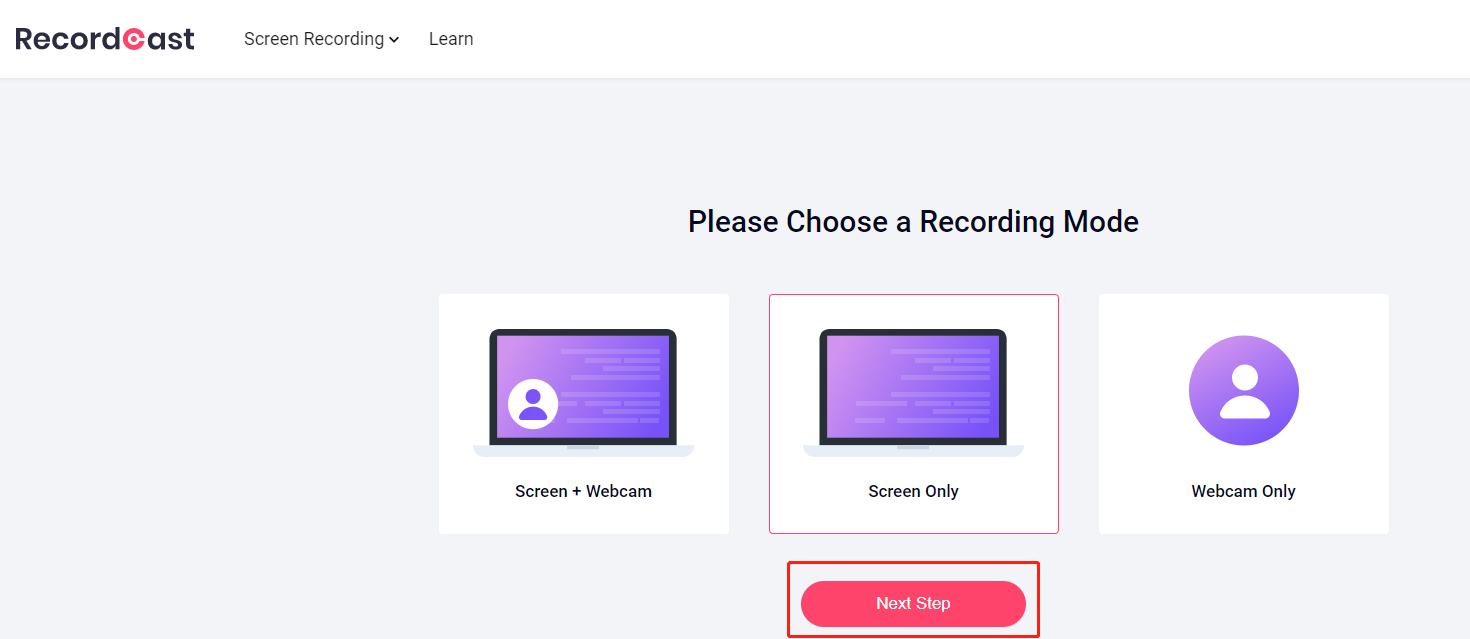
Step 2: Pick your wanted recording mode such as Screen Only and hit Next Step;
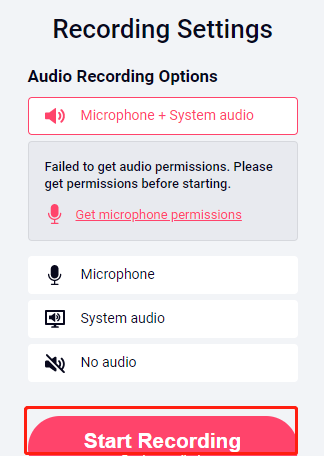
Step 3: Change the audio output settings, click Start Recording, then choose a window, a Chrome tab or the entire screen, and tap Share;
Step 4: Screen record on Mac with system audio or microphone sound and when you’re done, click the Stop button. Download and save the recording.
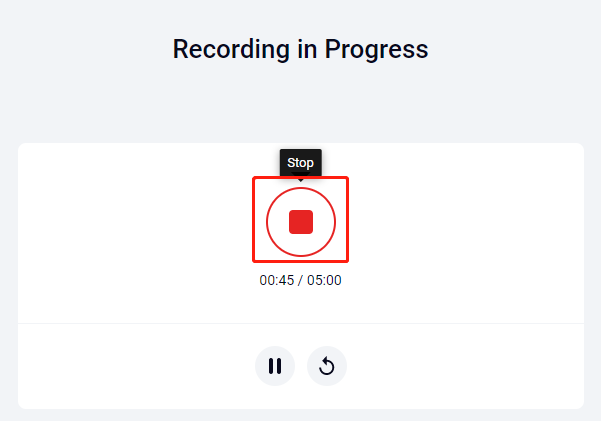
Free users can screen record on Mac with audio and video up to 5 minutes and download recordings in MP4 format.
Fix Screen Recording No Sound
With all these ways to screen record on Mac with audio, you may still fail to do that. This can be caused by many reasons. Discover why your Mac can't screen record with audio and the solutions to fix it.
- Unsupported Mac version: The Screenshot toolbar only works for macOS Mojave or later. If you are using an older version, consider a different recorder to screen record on Mac with audio.
- Some apps might restrict you from recording their windows. Try a most-trusted screen recorder app. Or, use the Zoom app to share your screen with another device, and capture or screen record on a mirrored Mac with audio.
- No permission for microphone. Make sure you’ve turned on the microphone permission or correctly set the audio input device.
- Out-dated recording tool: Update QuickTime Player or other screen recorders.
Conclusion
This article explains in detail how to screen record on Mac with audio along with the reasons for recording without audio. While each of the introduced methods allows you to record screen and audio at the same time on Mac, please review your need to choose the best.
If your need is to only record screen with audio from the mic of the device, the built-in tools QuickTime Player and Screenshot toolbar in macOS are enough. However, to have internal audio in your video, the best way is to get an alternative to them.


