Generally speaking, I break down recording Discord streams into three steps: starting the Discord stream, setting up the Discord stream recorder, and beginning the recording. If you don’t know how to start a Discord stream on PCs and phones, you can read this post: [Full Guide] How to Stream on Discord on PC and Mobile
After mastering how to start a live video or audio stream on Discord, it’s time to learn how to make a Discord stream recording. Using a reliable streaming video recorder is crucial. In this post, I have picked up two recorders for you to choose from, which include AWZ Screen Recorder and OBS Studio. More importantly, I also prepared guidance on how to use them with detailed steps. Now, let’s get started!
How to Record Discord Stream with AWZ Screen Recorder [Recommended]
Among the three Discord stream recorders, I extremely recommend AWZ Screen Recorder.
Why AWZ Screen Recorder is Recommended
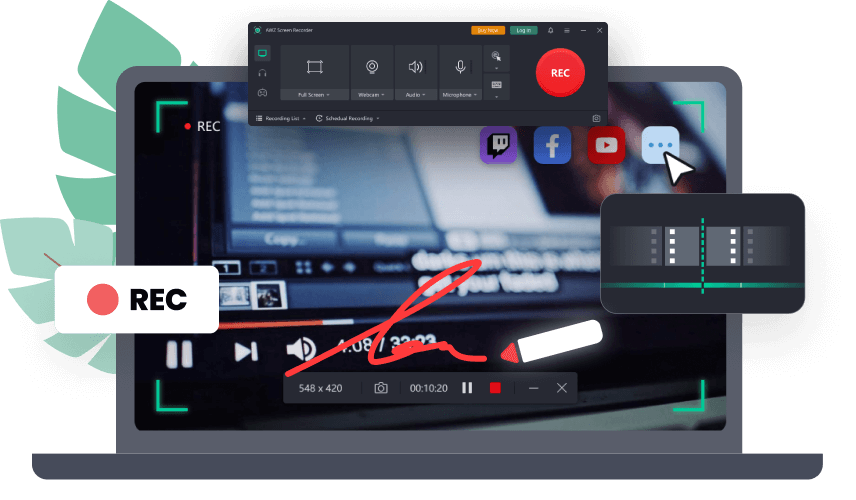
Whether you start a video or audio stream on Discord on your Mac or Windows PC, AWZ Screen Recorder can meet your needs for capturing Discord stream recordings. It is a professional screen recorder available on both Windows and Mac. In addition to supporting recording the screen with audio, it also supports capturing audio only. Hence, it enables you to record both audio and video streams on Discord.
Moreover, AWZ Screen Recorder is a high-quality screen recorder that supports making 4K recordings at 120 FPS. Additionally, it enables you to save high-quality recordings in MP4, MKV, WebM, MOV, or other video formats.

Other Key Features of AWZ Screen Recorder:
- It supports recording the full screen and customizing the recording region.
- It can record both the screen and webcam simultaneously.
- It is a game recorder that can record Sims 4 gameplay, LOL, and other 2D/3D games.
- It can take screenshots on a PC.
- It offers the option to schedule recordings.
- It has a built-in video editor with basic editing tools.
How to Record a Discord Stream via AWZ Screen Recorder
Now, let’s see how to record a Discord stream with audio via AWZ Screen Recorder.
Step 1. Launch AWZ Screen Recorder
Run AWZ Screen Recorder on your PC. If this program hasn’t been installed on your PC, click the button below to get its installer and follow the on-screen prompts to complete the installation.
Step 2. Set up the Recording Settings for Discord Stream Recording
Under the default Record Screen tab, click the Select Region icon to choose the recording area you want to capture. Then, choose the target audio sources for recording. Here, I recommend recording both the system and microphone audio. If you want to record the Discord stream with both on-screen content and webcam, you can open the Webcam to select your external camera.

Optionally, you can click the three-line icon at the top right corner of the AWZ Screen Recorder panel and choose the Settings option to adjust other recording settings. On the Settings window, you can rechoose its saving path, select the recording format and quality, customize the recording hotkeys, and others. Once made any changes, click Apply.


Step 3. Start the Discord Stream Recording Process
Once you have finished setting up the recording settings in AWZ Screen Recorder, you can start the Discord stream. Then, press F3 to start recording. Alternatively, go back to AWZ Screen Recorder and click REC.
Step 4. Complete the Discord Stream Recording
When the Discord stream is over, press F3 again to complete the Discord stream recording. Later, the Discord recording will appear under the Recording List. You can click the Play icon to review it or hit the Scissors icon to edit it. Meanwhile, click the three-dot icon to make more choices, such as Compress, Denoiser, and Share (to YouTube, Facebook, Vimeo, etc.).

Record Discord Stream with Audio via OBS Studio
For most live streamers, OBS Studio is one of the most frequently used software. OBS Studio is a professional and open-source program for screen recording and live streaming available on Windows, Mac, and Linux. It is a good choice to use OBS to capture a Discord stream. You can use OBS to schedule the recording. If you want to know how to make a Discord stream recording with OBS, refer to the steps below.
Step 1. Download, install, and launch OBS Studio.
Step 2. Click the Plus icon in the Sources section and choose the Display Capture or Window Capture option. If you choose the Window capture option, select the Discord window from the Window dropdown. For other settings, customize them according to your needs.

Step 3. To set the audio recording, go to Settings > Audio. Here, set Desktop Audio to your system’s default audio output. If you want to record your audio from the microphone, set Mix/Auxiliary Audio to your microphone. Furthermore, you can go to the Output tab to personalize the recording format, quality, and others. Then, click Apply.
Step 4. Start your Discord stream and click the Start Recording button in OBS to activate the recording. Once you want to end the recording, click the Stop Recording button.
Wrapping Up
Since there is no built-in recording feature in Discord, you need to use third-party screen recorders to capture Discord streams. AWZ Screen Recorder is a professional screen recorder for Windows and Mac, enabling you to record Discord streams in high quality with customizable recording settings. What’s more, you can also give OBS Studio a try. However, if you are a beginner, AWZ Screen Recorder is more user-friendly for you.


