Schedule recording is a practical feature that enables you to assign recording tasks at a specific time. Even if you're busy with other stuff, you can let your device start and end a recording anytime you wish. Not all screen recorders offer this tool except OBS Studio, an open-source screencasting program. In this blog post, we will show you how to schedule recording in OBS Studio with ease. Let's join us and master OBS schedule recording like a pro!
Basic Information of OBS Studio

OBS Studio is an open-source screencasting and streaming app that is available for Windows, Mac, Linux, and BSD. It’s a professional recording tool for both casual and serious users, meeting various recording needs in daily life and work.
With the help of OBS Studio, you can effortlessly:
- Record screen: OBS enables users to capture all the activities on their screen in high resolutions.
- Record webcam: This free tool supports recording webcam only and webcam + screen, allowing you to make teaching videos hassle-free.
- Record audio: You can record both system sound and microphone voice separately within this software.
- Video broadcasting: OBS allows users to stream videos in real time.
- Video effects: When recording videos, you can select up to 4K resolution for better video quality. In addition, filters such as image mask, color correction, color key, chroma key, etc., are offered to be added to your scenes, sources, and audio devices.
- Scheduled recording: You can set a specific start and stop time for a recording that you wish to begin and end automatically in the future.
How to Schedule Recording in OBS Studio
In this section, we will show you how to schedule a recording task in the OBS Studio. Without registration or payment, you can easily record high-definition videos on your computer.
Before we dive in, install the Advanced Scene Switcher plug-in on your device. It allows you to automate various recording tasks via Macros.
Follow the steps below to learn the process of OBS schedule recording:
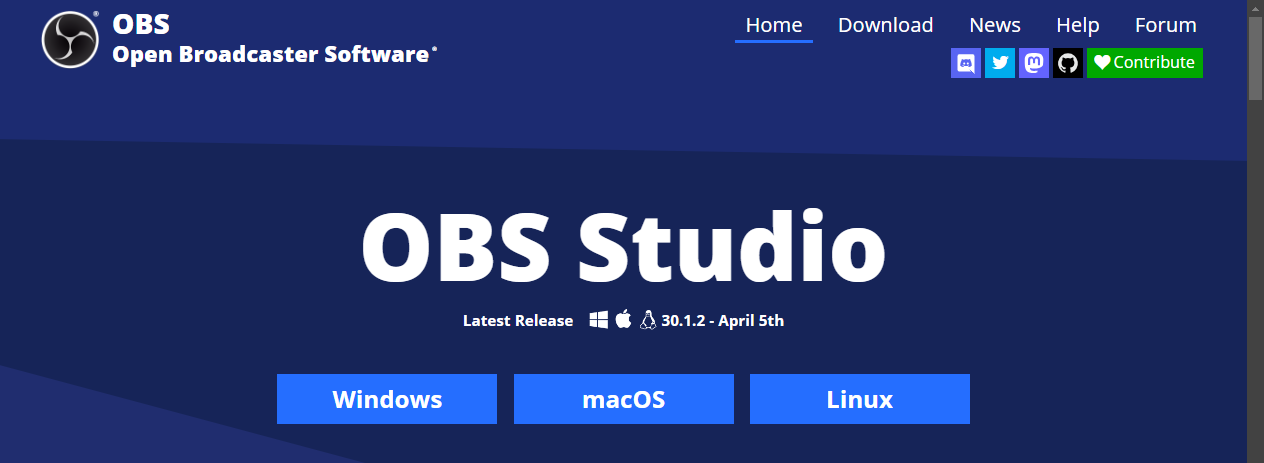
Step 1. Download and install OBS Studio for your device.
Open your web browser and navigate to the official website of OBS Studio. On its homepage, click a download button that matches your operating system. After downloading, follow the prompt to finish the installation process. Then, launch it on your computer.
Step 2. Access the Advanced Scene Switcher plug-in in OBS.
Open OBS Studio and click Tools > Advanced Scene Switcher. Then, hit on the Start button to run the plug-in.
Step 3. Schedule a recording in OBS.
Go to the Macros window and add a new task.
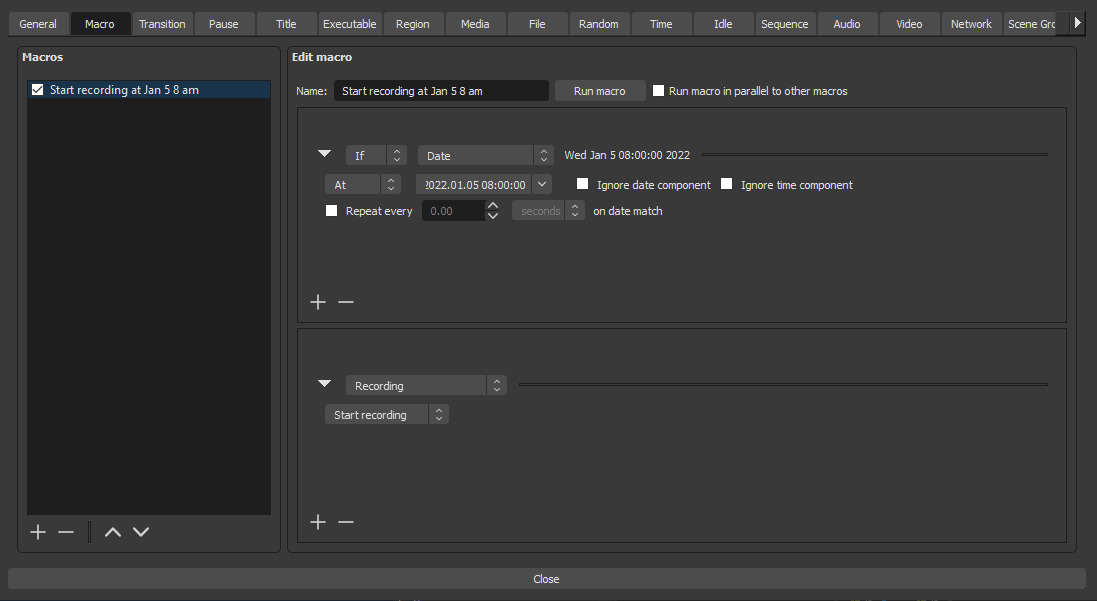
That’s all about how to make a scheduled recording in the OBS Studio. It becomes easy by following our instructions. However, it must be admitted that the process takes some detour and isn’t easy to follow. So, in the following part, we will introduce you to an excellent OBS Studio alternative to help you easily schedule recordings. Just check the content below:
OBS Schedule Recording Alternative
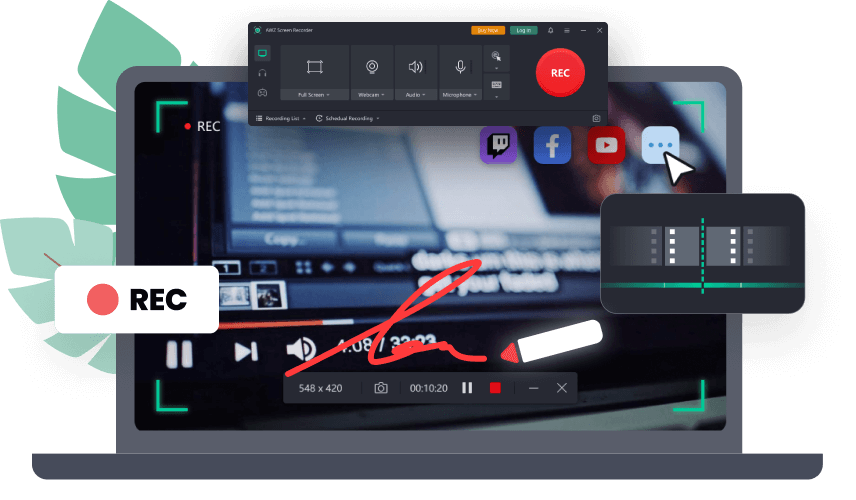
Besides OBS Studio, there are many powerful screen recorders that allow you to schedule recordings whenever you need them. Among the sea of screencasting programs, we highly recommend AWZ Screen Recorder, which is easy to follow and records on a computer.
AWZ Screen Recorder is a powerful screencasting program that is available on Windows and macOS. Whether you need to record directly or assign a recording task that begins in the future, you can get quick solutions in this program.
Check the content below to make a scheduled recording without breaking a sweat:
Step 1. Click the following download button to install AWZ Screen Recorder on your computer.
For Windows Users:
For Mac Users:
Step 2. Go to the hamburger menu and click Settings. Choose an output format and path for your recordings.
Step 3. On its homepage, click Scheduled Recording and hit the blank area to create a recording task.

Step 4. Name the recording and set a start and end time (you can end at a specific time or choose a duration to stop recording).
Step 5. Adjust related settings, such as the recording area and actions after recording, according to your requirements.
Step 6. Click on the Save button to confirm the scheduled recording on your device.
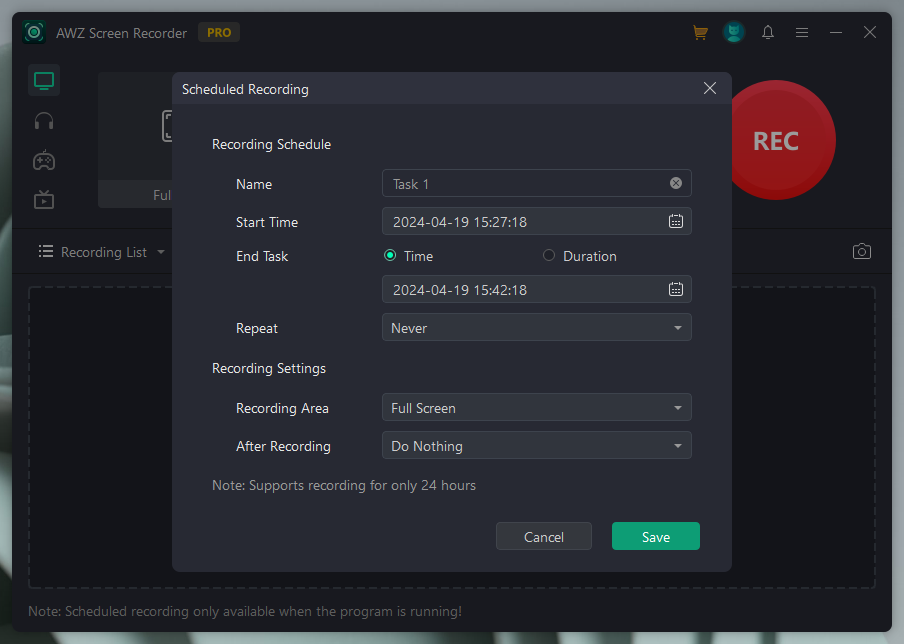
AWZ Screen Recorder boasts a clean, user-friendly interface, with which users can effortlessly locate specific features in just a few clicks. With its aid, you can record screens, audio, webcam, gameplay, and streaming videos without effort. Moreover, this program supports nine video and audio formats, respectively, meeting your various needs in daily life and work.
Furthermore, you can edit, compress, crop, and eliminate background noise in your recordings with built-in tools straightforwardly. Just download AWZ Screen Recorder and capture your screen seamlessly now!
For Windows Users:
For Mac Users:
The Bottom Line
In this digital world, knowing how to schedule record is an essential skill. It’s hard to make sure that you can catch all the recordings on time. OBS schedule recording offers a workaround to help you auto start recordings in a selected time. However, AWZ Screen Recorder makes it easy to assign an incoming recording task. Just download this screencasting program on your device and easily keep all the important activities!
- Record gameplay clips with no lag
- User-friendly interface & easy-to-use
- Record system sound & voice from yourself
- Automatically block extraneous sounds
Windows 11/10/8.1/7/XP


