Can You Record Yourself Giving a Presentation on Zoom?
As you know, Zoom is a reliable video meeting platform. It also has a built-in recording feature to help users record important meetings. However, this feature is generally only available to the meeting host or those granted access.
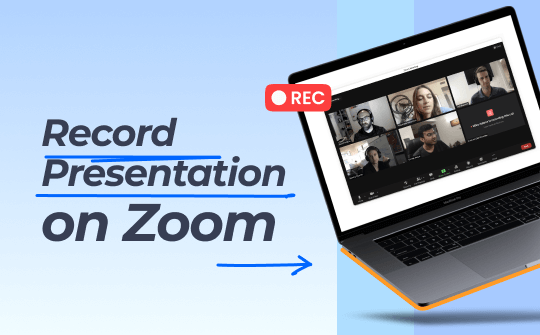
So, can you record yourself giving a presentation on Zoom? For example, can it help you video record yourself presenting a PowerPoint? Luckily, the answer is yes! To record a presentation on Zoom, start a new meeting yourself—that is, become the host yourself. This way, you can use the recording feature!
But what if you don't have recording permission? For example, you may want to record your presentation in a group secretly. In this case, you can use a third-party recording tool like Free AWZ Screen Recorder. Get this free & professional recorder by clicking the button below and start!
Next, let me show you how to record a presentation on Zoom by yourself using these two tools.
Steps to Record a Presentation on Zoom
As a meeting host, you can easily share screen on Zoom and record the screen with or without face. Here is how to record a presentation on Zoom:
Step 1. Open the Zoom app. Go to Settings and choose Recordings. Adjust the output path and other settings according to your needs.
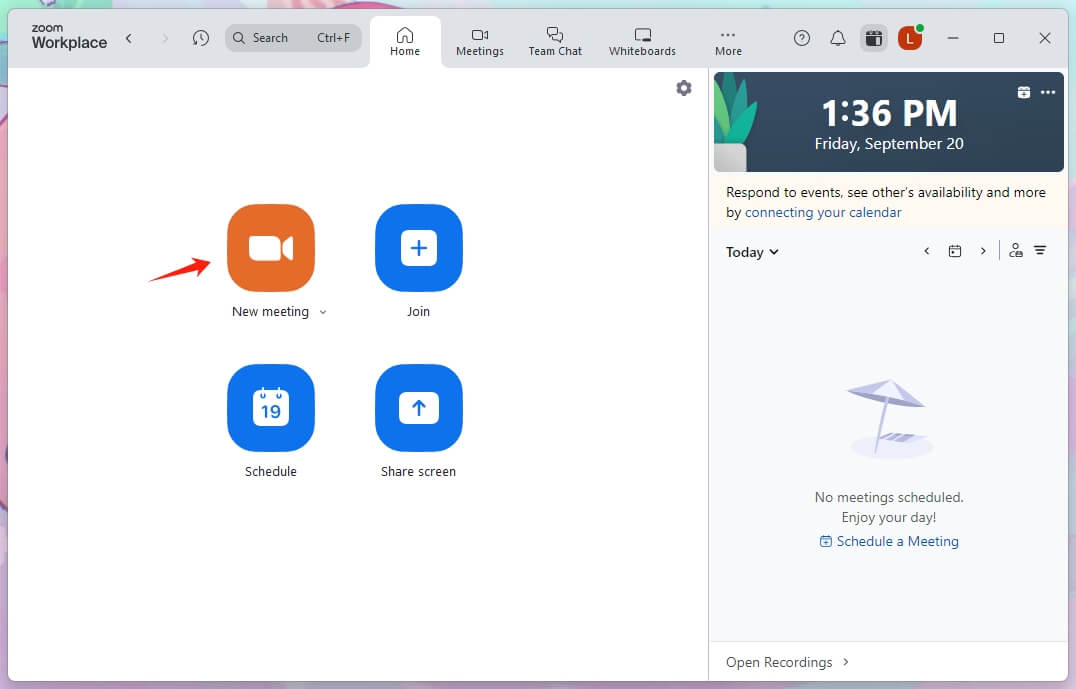
Step 2. Go back to the app's home interface and click New Meeting. If you see the prompt, select Join with computer audio.
Step 3. Click Start video and choose the right webcam if you want to record presentation on Zoom with face. Click the arrow next to the icon if you want to change background on Zoom.
Step 4. Open the presentation materials you want to use. Then, click the Share button and select to share the entire screen or only the app window. Adjust the layout and click Share to confirm.
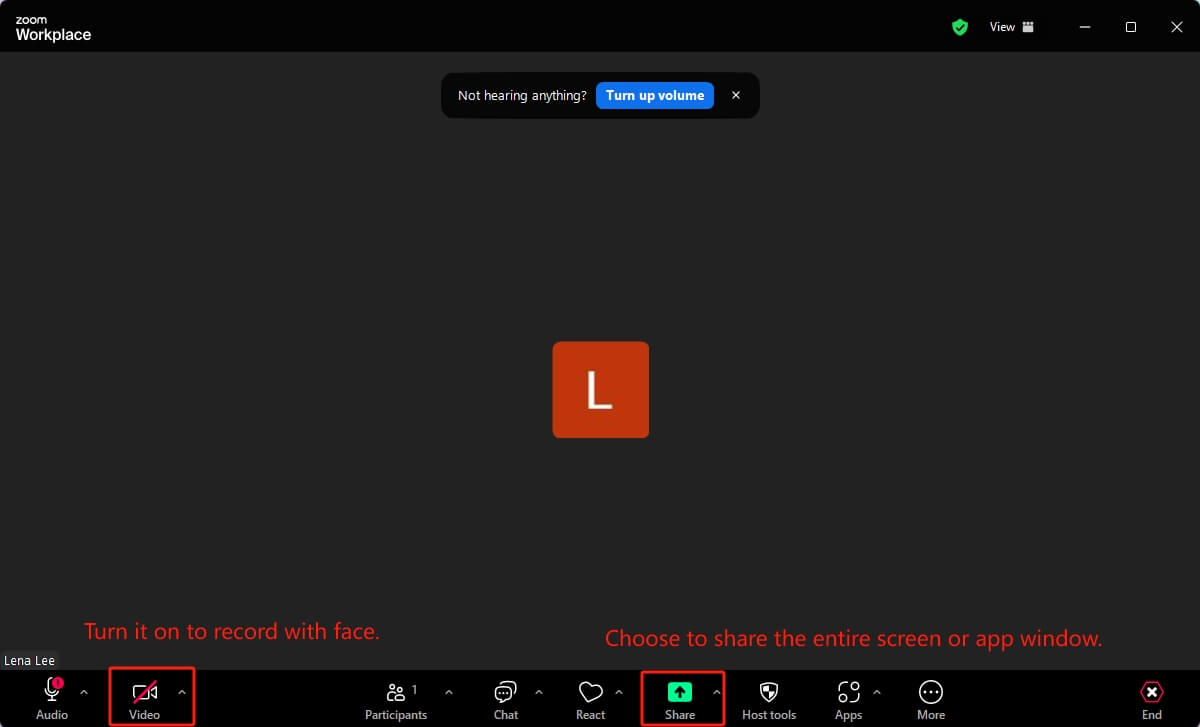
Step 5. Click the More option from the toolbar and select Record. At this time, you can start your presentation.

Step 6. Pause or stop the recording as needed.
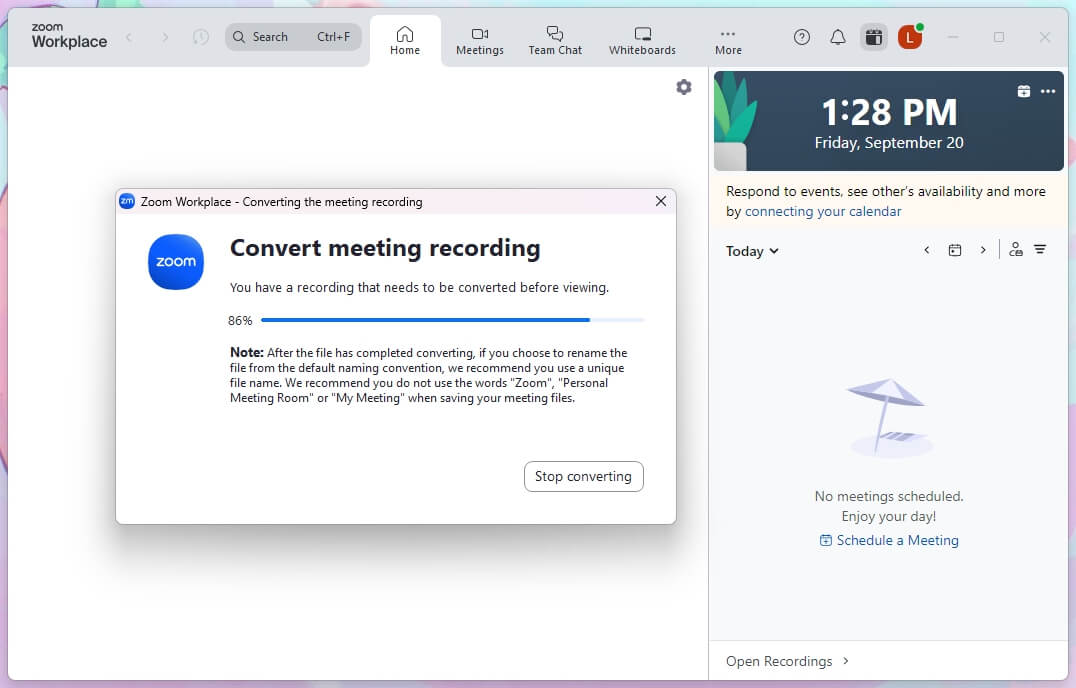
Step 7. Finally, leave the meeting. It will convert the meeting recording to an MP4 video.
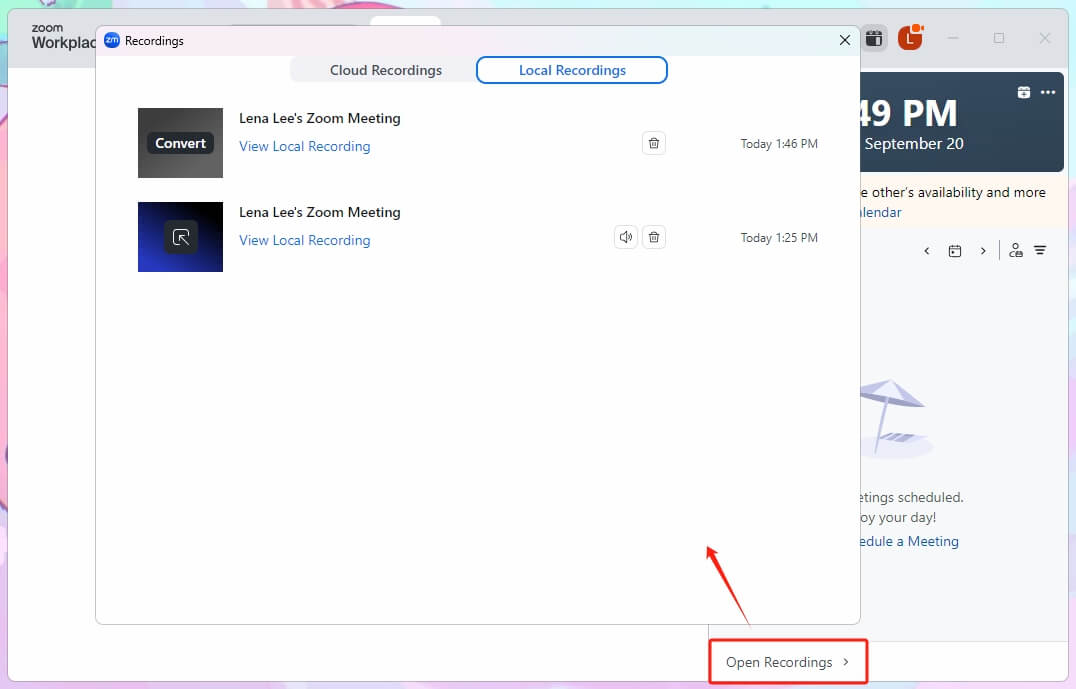
After that, click Open Recordings to see the video. You can also go to the folder you selected before to find the video.
Disadvantages of Using Zoom to Record a Presentation
The previous section showed you how to record a presentation on Zoom. As you can see, Zoom provides a simple way to help you accomplish recording. However, Zoom is not a professional video recorder, and there are inevitable weaknesses.
- Only the host or someone who has permission from the host can use the recording feature. If you are a participant, you will need to get permission from the host or invite the host to record for you.
- Zoom relies on the network for recording, so if the network is down, the recording will also fail, and the video quality will deteriorate.
If you want to record at will or care about the quality of the recording, then using professional software would be a better choice. Read on to learn more.
Another Easy Way to Record a Presentation with/without Audio
Zoom is good but not the only option for recording a presentation. Professional recording software gives you better control over your recordings and high-quality videos. Here, AWZ Screen Recorder is recommended.
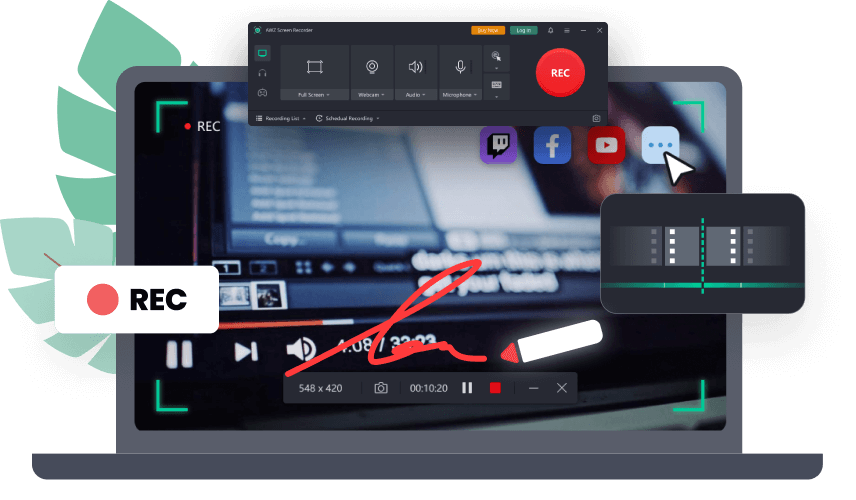
AWZ Screen Recorder is a free and easy-to-use video recording tool for PCs and Macs. The software's intuitive workflow allows you to start and finish recording with a few clicks, with no learning curve.
With this tool, you can easily record yourself giving a presentation with or without face. It offers annotation tools to add highlights/shapes or draw anything. Download this tool and give it a try!
Here is how to record a presentation via Free AWZ Screen Recorder:
Step 1. Open AWZ Screen Recorder and prepare the material you want to use.
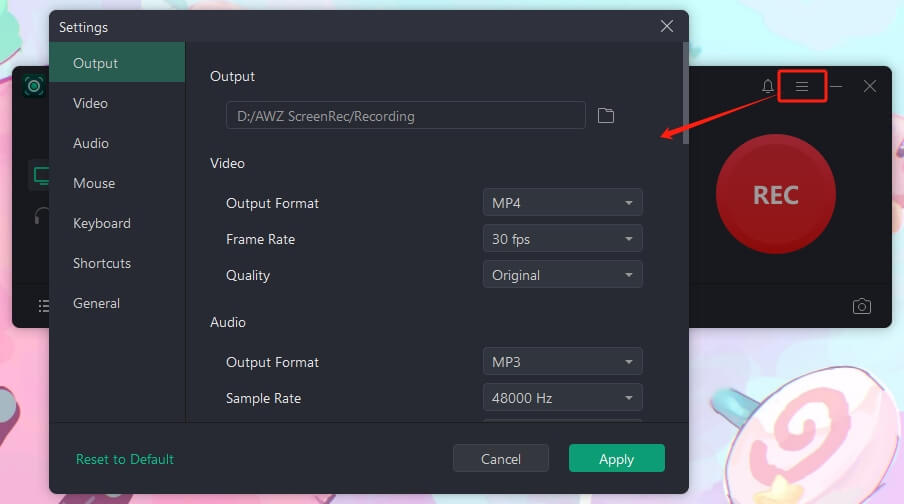
Step 2. Go to Settings to adjust the recording settings. This menu lets you change the output path, format, quality, and more. If needed, you can make it show mouse clicks.
Step 3. Choose Record Screen. Turn on the webcam and your microphone if you want to record the presentation with face and audio.

Step 4. When it’s OK, click the REC button to start the recording.
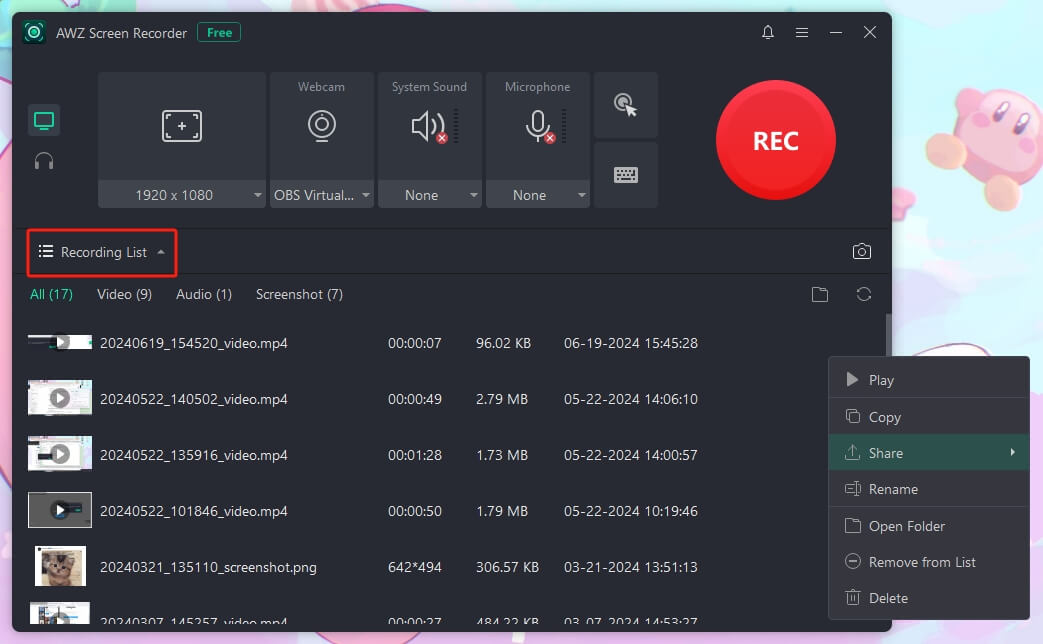
Step 5. Finally, click the Stop button to end the recording. Then, go to Recording List, and you will find the video.
As a professional video recording software, it can meet all kinds of recording needs. No time limit and no watermark. In addition to presentations, you can use it to record any screen activity! Try it yourself.
Conclusion
That’s all about how to record a presentation on Zoom. You can start a new meeting and use the record feature to finish the recording; it's very simple. Of course, if you want higher quality video or more features, try AWZ Screen Screen. Hope this AWZware guide is helpful!


