AWZ Screen Recorder allows you to record your computer screen, audio, and webcam and take screenshots. It lets you add annotations to and edit your recordings with ease and share videos and images to popular social platforms.
Here is a quick overview of the software’s menus and parts to help with seamless navigation.
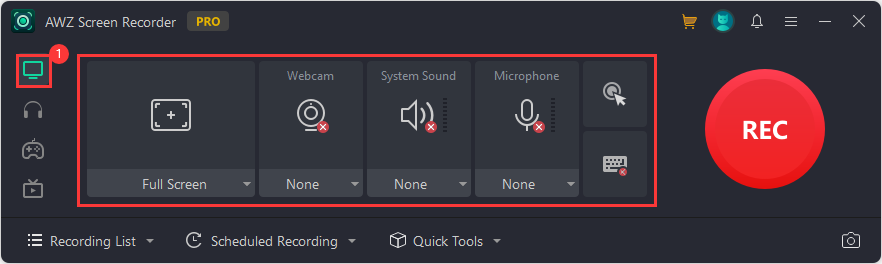
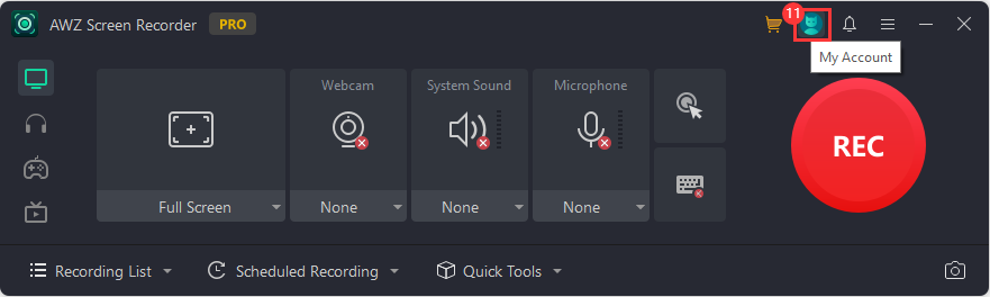
1. Record Screen
The Record Screen option allows you to record screen activities in the way you like:
Full Screen: Select full screen, selected region, fixed size, or webcam recording from the drop-down menu;
Webcam: Record with camera;
System Sound: Record audio from your computer;
Microphone: Record external audio.
You can record your screen with mouse clicks and keystrokes.
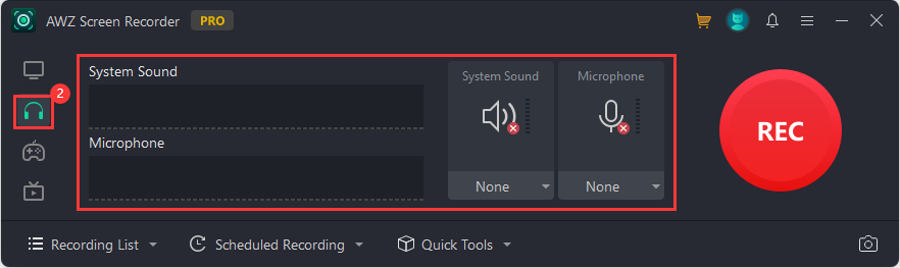
2. Record Audio
The Record Audio option lets you record only the sound. You can record system audio and microphone individually or simultaneously.
System Sound: Select the audio device and set the audio gain;
Microphone: Select a microphone and apply audio gain and noise reduction.
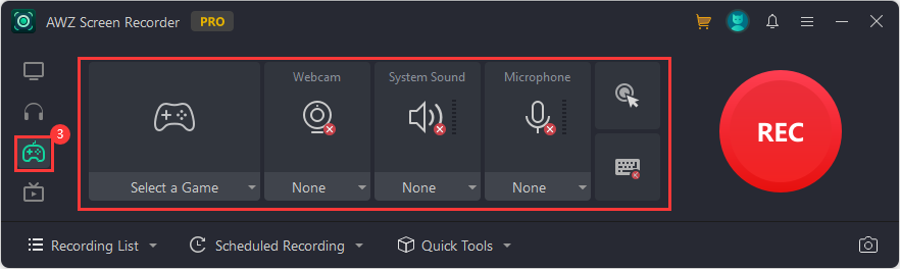
3. Record Game
The Record Game mode enables gamers to record gameplay with their face and players’ voices via a webcam and a mic. You can choose to show keystrokes and mouse clicks on the screen while recording.
Select a game: Detect and select a game for high-resolution video recording.
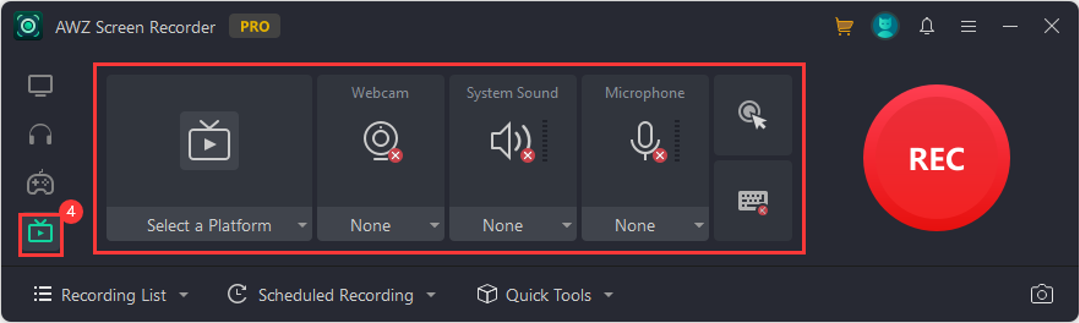
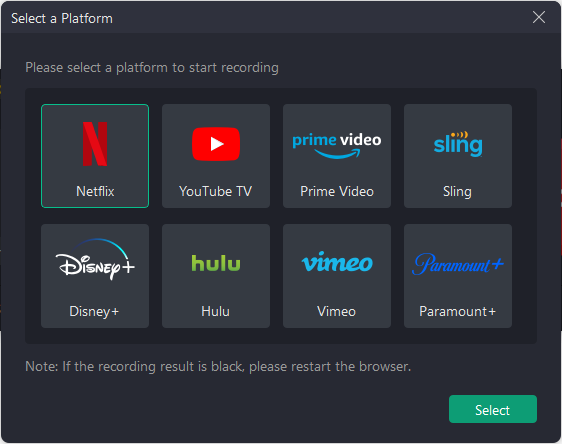
4. Record Streaming Video
This menu is where you can capture a video from a streaming website with audio and a facecam.
Select a Platform: Choose and open a streaming platform supported by the screen recorder and stream a video for recording.
5. Recording List
Clicking the Recording List button will expand all the captured and recorded videos, audio, and screenshots. Hover over each recording and you can play, trim, edit, delete, rename, copy, and share it to the cloud and various platforms.
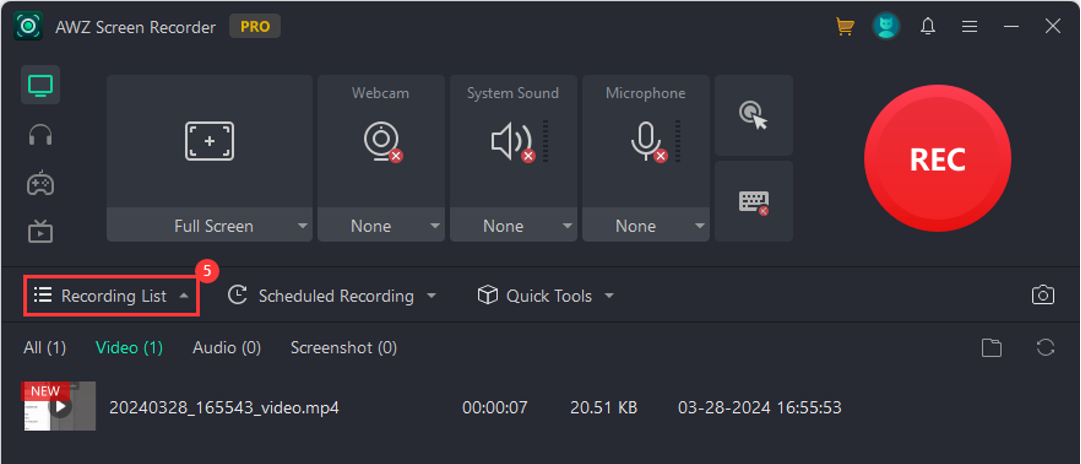
You can access the default saving location of the recordings on your computer.
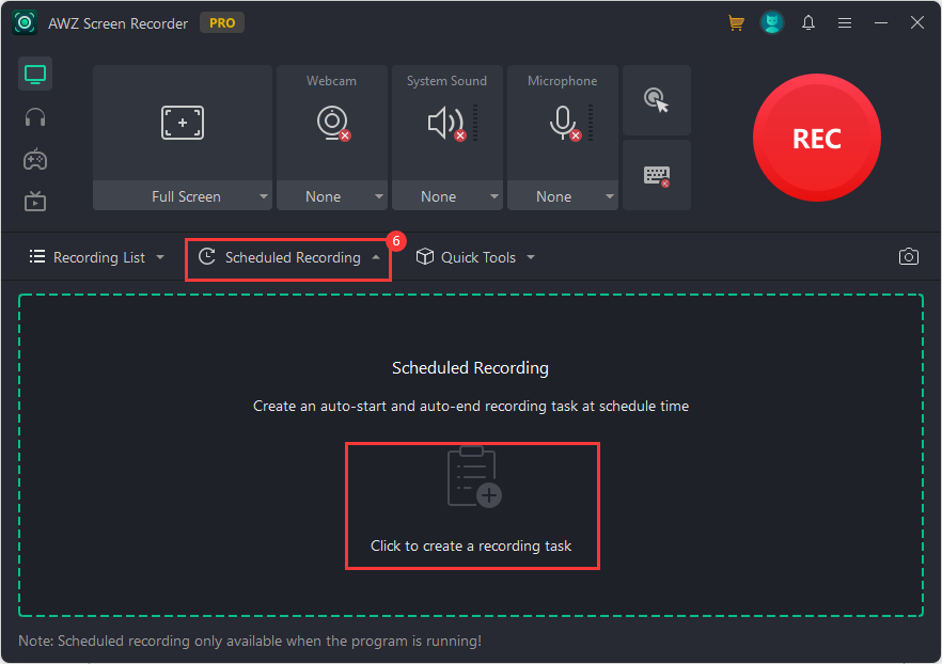
6. Scheduled Recording
The Scheduled Recording feature is designed to help start and stop a recording automatically at a time specified by you. It is useful for recording scheduled calls, meetings, webinars, etc.
You can set the start and end time or time duration, recording area, and whether to sleep or shut down your PC after recording.
7. Quick Tools
The Quick Tools menu allows you to edit the recordings to make them perfect for sharing and saving.
Video Editor: Cut or trim a video or audio file to remove the beginning or end parts;
Video Compressor: Reduce the video file size by three compression levels;
Denoiser: Remove the noise from a recording.

8. Screenshot
The Screenshot tool is displayed as a camera icon and used to capture any portion of your screen as a picture.
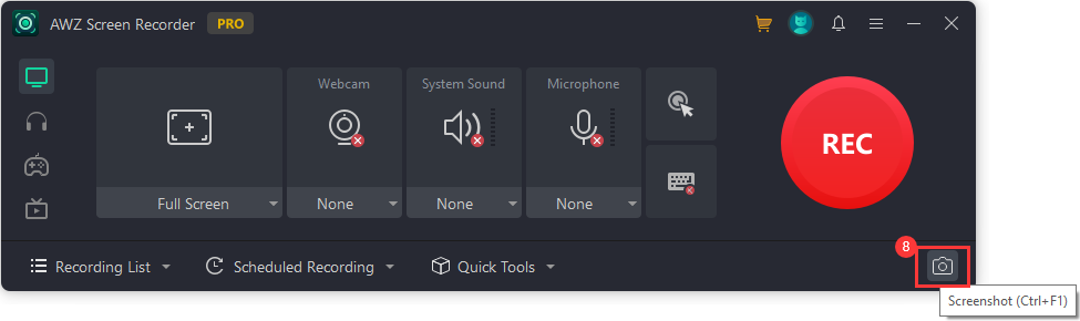
While capturing, you can add text, drawings, and shapes to the image.
![]()
9. See More
The See More (shown as three horizontal lines) menu contains other additional options from which you can get to know about and configure the software.
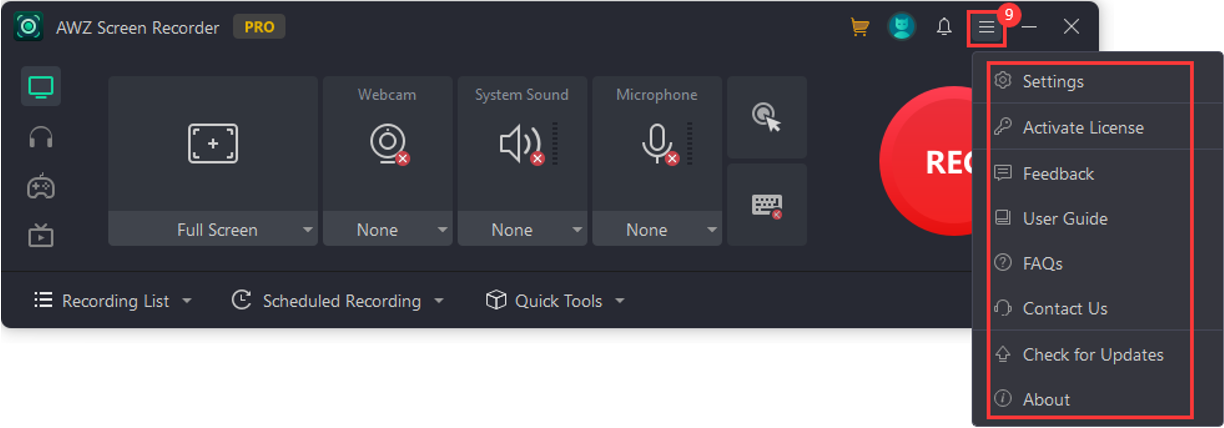
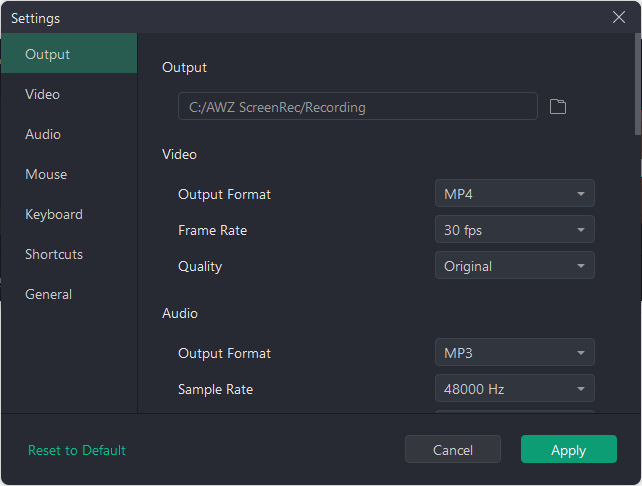
Settings: Customize the software behavior, features, and output to suit your specific needs. Set how you want to record by shortcuts, mouse clicks, and keyboard options. Select your desired video and audio parameters;
Activate License: Enter your license key to activate your pro account;
Feedback: Send email messages to AWZware for any issues, questions, and suggestions you may have for quick help;
User Guide: Open the user guide of AWZ Screen Recorder to quickly learn how to record and edit videos in this video-capturing software;
FAQs: Answer common questions and provide solutions for problems reported by users or possible issues you might encounter;
Contact Us: Contact info of the AWZware support team;
Check for Updates: Check your current software version and update it to the latest version;
About: Profile of AWZware.
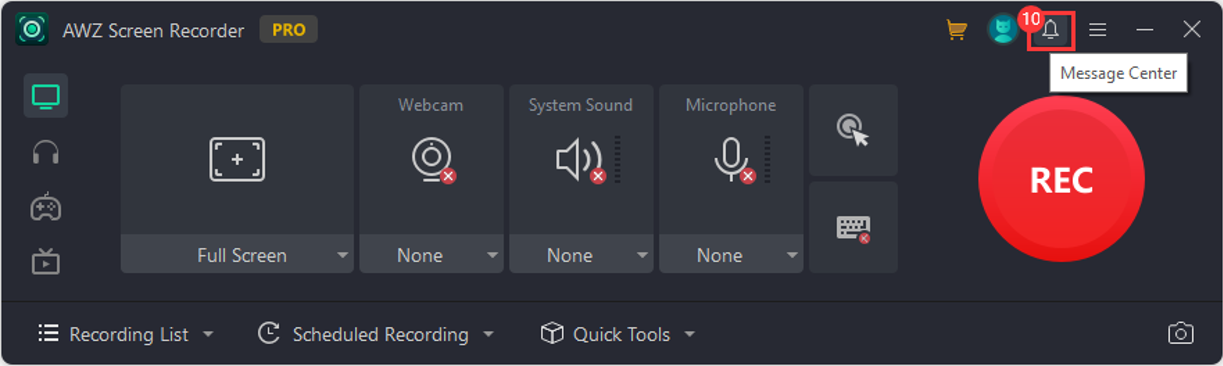
10. Message Center
Message Center offers a place for you to instantly receive messages from AWZware.
11. My Account
The My Account option lets you view your account information, including your registered email address, account status (free or pro), software version, expiration date, and number of PCs available.
In the My Account window, you can click Manage My Account to open the AWZWARE User Center and check the details of all your products.
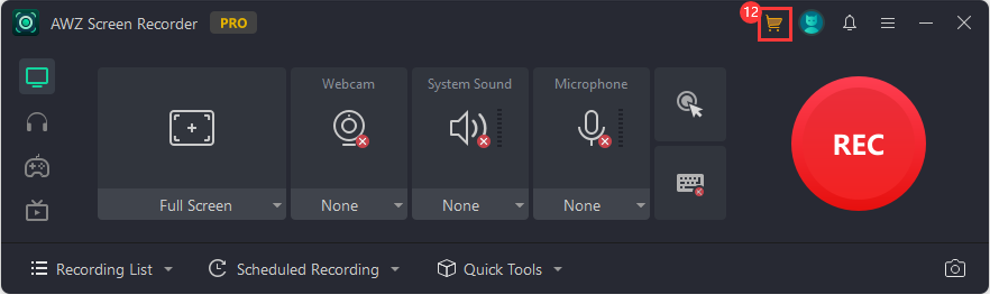
12. Shopping Cart
The Shopping Card icon will take you to the subscription plan page.