Skype is a popular telecommunication app that offers services such as instant messaging, file transfer, and debit-based calls on various desktop, mobile, and video game consoles. You may need to keep essential information for future reference when having video calls on Skype. In this guide, we will offer you three tools to explore how to record Skype calls on Mac. Read on and follow our guide.
#1. AWZ Screen Recorder
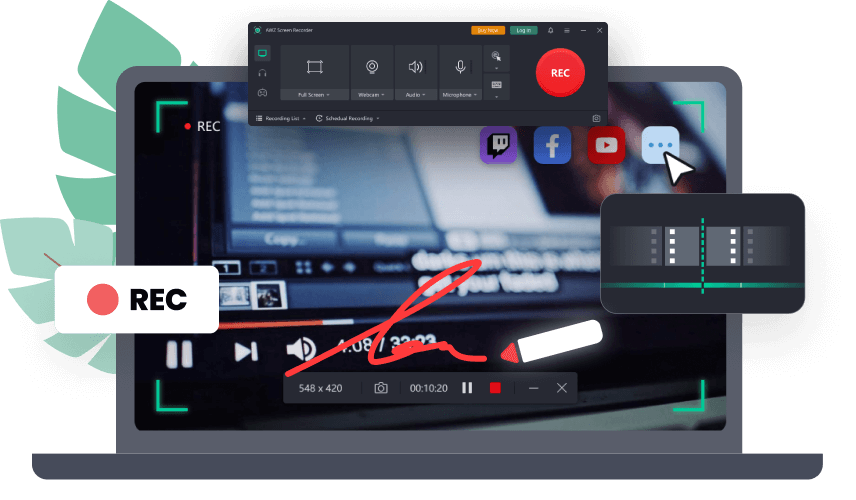
AWZ Screen Recorder is a robust screencasting program for Windows and Mac users. It provides comprehensive screen recording functionalities, enabling you to capture any activity on your screen seamlessly.
When it comes to recording Skype calls on a MacBook, AWZ Mac Screen Recorder allows you to record high-quality screens and audio from Skype. You can choose various output formats and qualities for your recordings. In addition, AWZ Mac Screen Recorder provides built-in editing tools that help you edit and compress videos on Mac in a few clicks.
Here’s how you can record a Skype call on macOS using AWZ Screen Recorder:
Step 1. Prepare AWZ Screen Recorder.
Click the following download button to access AWZ Screen Recorder on the App Store (it’s compatible with macOS 10.13 and later.) Then, download and install it on your device.
Step 2. Set up recording settings.
Launch AWZ Screen Recorder and open the Settings window by clicking the hamburger icon and choosing Settings. In the following dialog box, you can select a preferred output location, format, rate, quality, and others. If necessary, you can also adjust the effects related to the mouse and keyboard.
Step 3. Start recording Skype calls.
After the setting is done, go back to the homepage and choose a recording mode. You can record screen-only, audio-only, or both screen and audio. After selecting a mode, tap the red REC button to capture your Skype calls.

Step 4. End recording.
When you have captured the section you need, just click on the red stop icon in the toolbar to end your recording. You can quickly access the recordings in the Recording List, where you can play, edit, copy, share, and rename the recording straightforwardly.
AWZ Screen Recorder boasts a navigable interface, plus its all-around functionalities, making itself being an ideal solution for both fresh and advanced users. If you’re looking for a top-rated Skype call recorder for Mac, AWZ Screen Recorder can revolutionize your way!
Pros and cons of recording Skype with AWZ Screen Recorder:
Pros:
- It supports recording video with a virtual background when you're on a Skype call.
- It has a free version for users to record watermark-free videos without a time limit.
- Multiple output formats and qualities are available.
- Simple and clean interface without the learning curve.
- One-stop editing and sharing features.
Cons:
- Currently, it’s only available on macOS and Windows. No versions for iOS or Android.
Download AWZ Mac Screen Recorder and enjoy a seamless recording experience:
#2. OBS Studio
OBS Studio is one of the most famous open-source screencasting apps that can record screens on Windows, macOS, Linux, and BSD. If you’re looking for a powerful yet free screen recorder that can meet advanced requirements, look no further than OBS Studio!
Without much ado, let’s see how OBS Studio helps record Skype calls on a Mac:
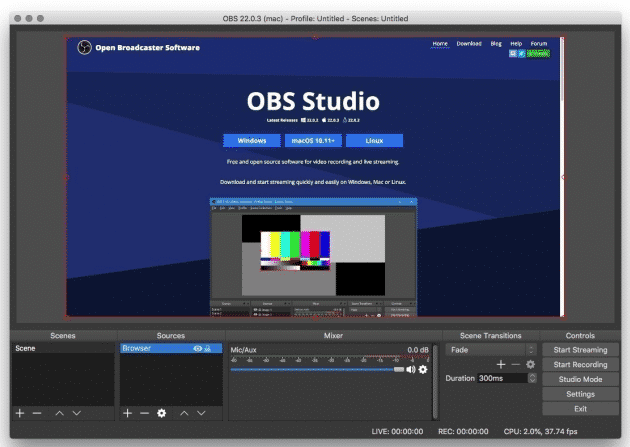
Step 1. Download and install OBS Studio from its official website. Then launch it.
Step 2. Click File > Settings to adjust recording parameters according to your requirements.
Step 3. On the main interface, create a new project in the Scenes section (name it with a Skype-related name to differentiate this recording from others.)
Step 4. In the Sources menu, choose audio and display input to capture Skype calls on your computer.
Step 5. Begin recording by clicking Start Recording in the Controls pane.
Pros and cons of recording with OBS Studio:
Pros:
- Free of charge
- Widely compatible with various platforms and operating systems.
- Customizable recording settings for meeting various requirements.
Cons:
- Users may encounter troubles because of the complicated interface.
- Lack of advanced editing features for further modifying recordings.
4 Steps to Record Screen with OBS Screen Recorder on Windows/Mac for Free
Confused about how to use the OBS screen recorder? This guide leads you to have a general understanding of this software and learn how to record with OBS.
READ MORE >#3. Ecamm Call Recorder
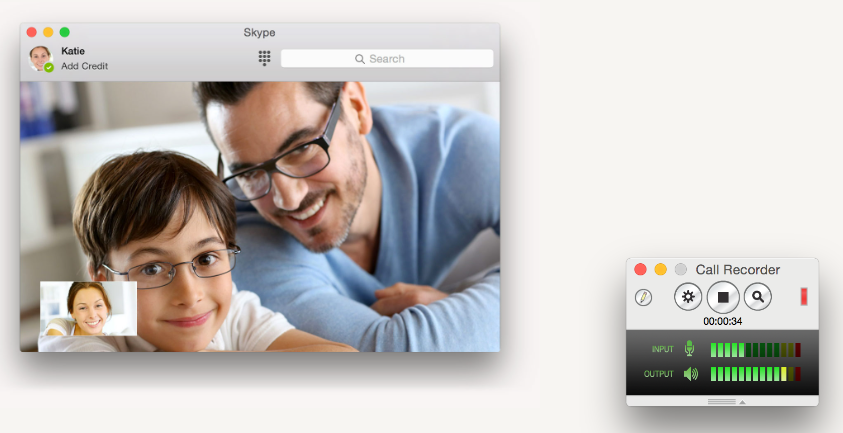
Ecamm is a leading live streaming and video production app built for macOS. It supports streaming, recording, podcasting, and presenting on your MacBook. The Call Recorder product is designed delicately for recording Skype calls on Mac. With its aid, you can effortlessly record Skype video sessions and convert them to MP3 files for podcasting or sharing on media platforms. Steps below show you the process of recording Skype by using Ecamm Call Recorder:
1. Download Ecamm Call Recorder by clicking this link. It requires macOS 10.12 or newer and an Intel-based Mac (Not compatible with M1 Macs or macOS 14 Sonoma.)
2. Click the settings icon to adjust recording settings before you record.
3. Prepare a Skype call you wish to record and begin recording in Call Recorder.
Pros and cons of recording Skype calls in Ecamm Call Recorder:
Pros:
- It supports export recordings in MP3, AAC, WAV, and AIFF.
- One-click share tab to upload recordings to YouTube and Vimeo.
- A 7-day free trial for experience recording before paying for subscription plans.
Cons:
- It is not compatible with Apple M1 Macs or with macOS 14 Sonoma.
- You cannot customize the recording qualities of this software.
- No further editing tools are available.
The Bottom Line
This article explains how to record Skype calls on a Mac. It introduces three reliable Skype call recorders that work smoothly on macOS and outlines their pros and cons. If you're looking for a free yet powerful Skype call recorder, AWZ Screen Recorder may be the best answer. Download it and enjoy a seamless experience now!


