Knowing how to record on a computer with high-quality internal audio helps easily capture essential information and cherished moments. However, Apple has set some restrictions on recording screens on macOS with clear audio. Don't be frustrated! In this guide, we will introduce you to some reliable Mac screencasting tools to screen record on your Mac with internal audio. Read on to explore the best 4 methods to capture both your screens and the sound effortlessly.
Method 1: Use QuickTime Player
Let’s first meet an effortless option: use QuickTime Player. It’s a built-in media player comes equipped with a macOS by default, letting Mac users work with media files efficiently. Boasting a navigable and simple interface, QuickTime Player supports playing various video and audio formats, guaranteeing a seamless experience on playing media files.
In addition to playing video/audio files, QuickTime Player also allows you to record Mac screens with audio, which means you can capture the screen as well as internal audio from a MacBook without downloading third-party software.
Steps for recording Mac screen with audio using QuickTime Player:
Step 1. Launch the QuickTime Player app.
Step 2. In the menu bar, click on File and select New Screen Recording.
Step 3. Click the arrow icon next to the record button. Tap Microphone and choose Internal Microphone or any other input audio device.

Step 4. Click the red Record button to begin recording.
It's easy to record a Mac screen using QuickTime Player. However, due to privacy concerns, it doesn't support recording internal audio. If you need to record system audio, you need to rely on additional software, which will be introduced in the following section. Just read on.
QuickTime Record Screen with Audio Guide | 2025 Updated
This guide will tell you how to use QuickTime to record screen with audio, including the methods to record microphone audio and internal audio.
READ MORE >Method 2: Use AWZ Screen Recorder
Third-party tools stand out as reliable alternatives when QuickTime Player cannot satisfy you. In the screencasting tool market, AWZ Mac Screen Recorder emerges as a powerful and easy-to-use option. It allows you to effortlessly capture screens and audio from a system or microphone on Mac and Windows. With its help, you can freely record software, record video from website, and any portion of your screens in high definition without breaking a sweat.
Here’s how you can record screen and system audio on Mac using AWZ Screen Recorder:
Step 1. Click the following button to download AWZ Screen Recorder for your MacBook. It’s compatible with macOS 10.13 and later. Then, launch it after installation.
Free Download AWZ Screen Recorder for macOS
Step 2. Select the Record Screen mode from the left pane.
Step 3. On the homepage, you can see several small tabs where you can customize screen, webcam, system sound, microphone, mouse, and keyboard recording. To record the screen with internal voice, only leave the screen and system sound options.
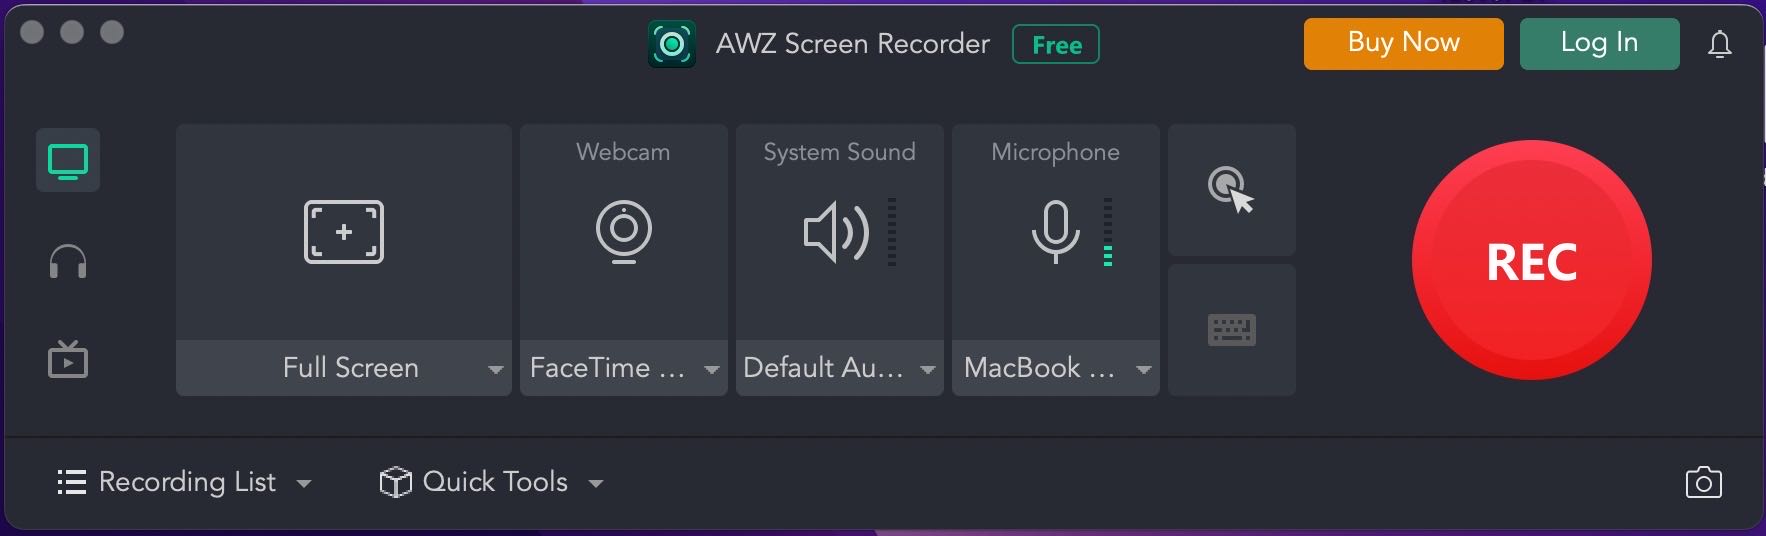
Step 4. Click on the REC tab to start recording.
By default, the recorded video will be outputted as MP4. If you need to change the video format or quality, click the hamburger icon and open the Settings window, where you can customize recording settings according to your requirements.
In addition to screen recording with audio, AWZ Screen Recorder provides a wide range of functionalities to improve your recording experience. For instance, you can record audio only from a system or microphone, record a webcam with a microphone, crop video and audio recordings, compress videos, eliminate background noise from audio files, etc., all set and ready.
Download AWZ Screen Recorder on your computer and unlock its power now!
Method 3: Use OBS Studio
For people who’re looking for an open-source screencasting program, OBS Studio is a good way to go. It’s a powerful yet free screen recorder that is available on Windows, macOS, Linux, and BSD, supporting recording screens, audio, and webcams across various platforms.
Now, let’s learn how to record screens and internal audio on a Mac with OBS Studio:
1. Launch OBS Studio on your computer (if you haven’t installed it yet, just download it from its official website.)
2. Click File > Settings to configure audio, video, and output settings as per requirements.
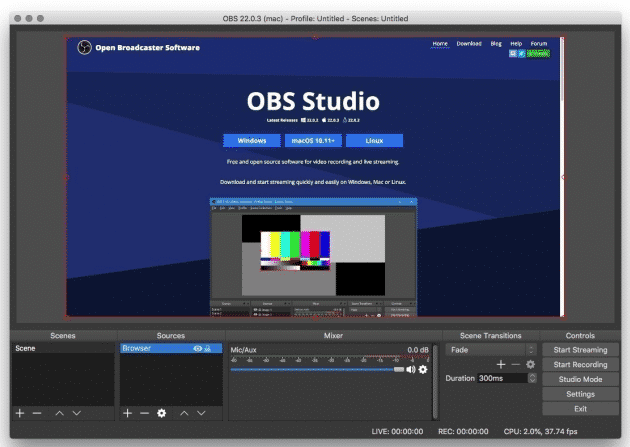
3. In the Scenes tab, create a project and name it. Then, choose Display Capture from the Source tab. Make sure the audio mixer is opened.
4. Go to the Controls pane and click Start Recording to begin.
Recording with OBS Studio means you don’t need to pay for any service. However, this program also has an obvious drawback: the intricate interface makes it confusing and difficult for new users to manipulate.
![5 Best OBS Alternatives for Recording and Streaming [2024 Latest]](https://img.swifdoo.com/image/obs-alternative.png)
5 Best OBS Alternatives for Recording and Streaming [2024 Latest]
Are you looking for an OBS alternative to stream videos or record your screen? This post introduces the 5 best OBS Studio alternatives that are easy to use.
READ MORE >Method 4: Use ScreenFlow
ScreenFlow is a macOS-exclusive screen recorder and video editing program. It helps users effortlessly capture high-quality audio and video from a MacBook and annotate recorded videos. ScreenFlow also provides a wide range of editing tools that allow you to customize recordings.
Steps for recording Mac screen with system audio using ScreenFlow:
Step 1. Download ScreenFlow from the Telestream website and install it on your computer.
Step 2. Launch ScreenFlow and click on New Recording on its homepage.
Step 3. Select the screen you want to record from the "Record Desktop from" option and choose system audio in the "Record Audio from" option.

Step 4. Tap on the red Record button to start recording. You can stop recording by clicking the ScreenFlow icon and selecting Stop Record or pressing Shift + Cmd + 2.
Conclusion
That’s all about how to screen record Mac with internal audio. This article offers you five methods to finish recordings. Out of the privacy concerns, Mac doesn’t allow you to capture system audio by default. However, you can also record screens and audio by using third-party programs. Feel free to use any tool mentioned in this article.